Table of Contents
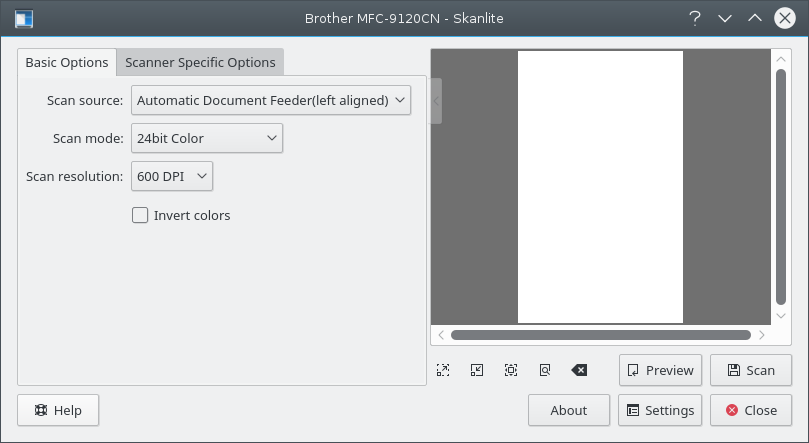
In the main window, the user has two sets of scan options: Basic Options and Scanner Specific Options. The Basic Options tab contains the most common parameters that the SANE scanner backends provide, while the Scanner Specific Options tab contains all the options of the backend. The options listed here depend on SANE support for your driver: libksane (which Skanlite uses) should be able to display most of the types of parameters that SANE provides (analog gamma tables are not supported at this time).

The scanner specific options contains more detailed options of the backends. Skanlite (libksane) does not have any special handling for these options.
If you are satisfied with your settings, you can use the little arrow on the top of the options splitter. When clicked it collapses or expands the options. The collapser can overlap the preview area, but fades away when the mouse cursor moves out of the collapser.
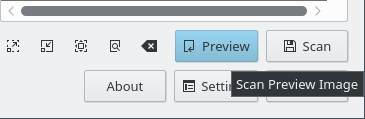
To scan an image, the user can start with a preview scan and then select the part of the scan area to do the final scan on. The preview scan is started by pressing the preview button.
When the preview is scanned the area for the final image can be selected.
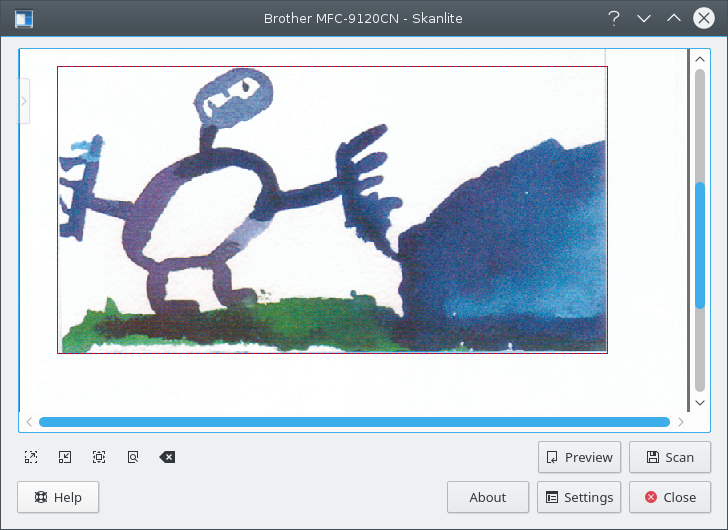
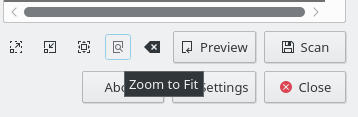
To better select the image the user can zoom in, out, to the current selection or zoom to fit the whole preview to the window.
When the image is selected the final image can be acquired by pressing the final scan button.

You will see the progress of the scan.

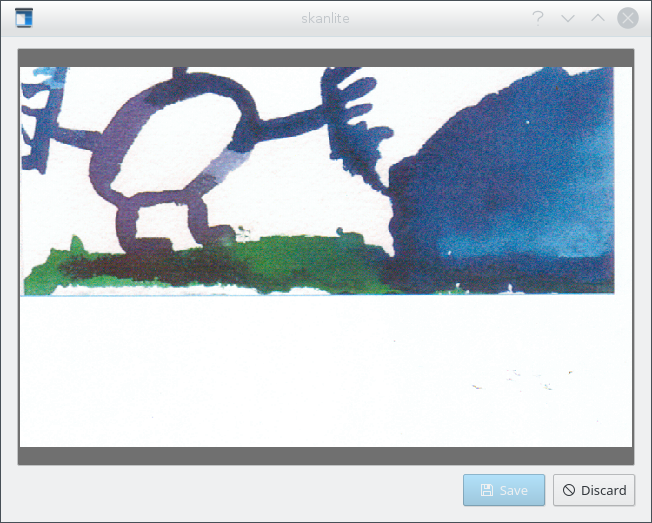
If Preview before saving is selected in the settings, the scanned image is displayed in a preview window as you can see below on the screenshot. If is pressed, the image is saved and if is pressed the preview is discarded and you return to the main window.