For a description of how to use the Composer, read this page. To learn more about fine-tuning the Composer's behavior, press on.
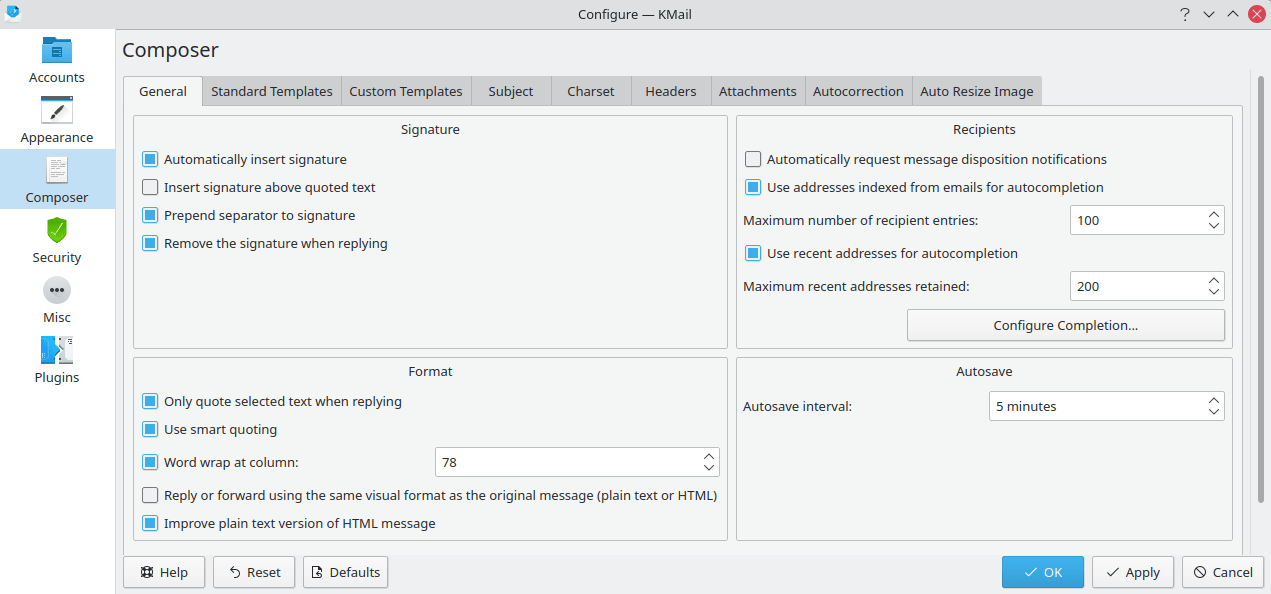
The Composer (General) Tab
This dialog lets you adjust the way KMail handles signatures. It also permits you to control some formatting features, to adjust some autocompletion options, and to tweak KMail's autosave feature.
- Automatically insert signature
If checked, your signature as defined on the identity page is automatically included at the end of every message you create (i.e., new messages, replies, etc.).
- Insert signature above quoted text
If checked, KMail will insert your signature at the top of the composer window, and not at the bottom.
- Prepend separator to signature
If checked, KMail will insert "-- " (dash dash space) before your signature if your signature does not begin that way. (This separator line is a de facto internet standard.)
- Remove the signature when replying
If checked, KMail will remove the signature from the original message when you compose a reply. Of course, if you have not selected the signature and the Only quote selected text ... option has been checked, KMail will omit the signature without referring to this setting.
- Only quote selected text when replying
If checked, KMail will quote only the selected text in the message window, instead of the complete message, when replying. With this, it is possible to quickly generate replies that quote only the relevant paragraph(s) to which you are actually replying. If this option is checked and you select nothing, KMail will quote the entire message.
- Use smart quoting
If checked, KMail will break long lines but will try to keep the correct quoting (i.e., the “>” will always be at the start of the line).
- Word wrap at column:
If checked, the word wrap option ( → in the composer window) will be selected automatically. Use the spin box to set the maximum line length.
- Reply or forward using the same visual format as the original message (plain text or HTML)
If checked, KMail will always enable the rich text editing toolbar if the message to which you are responding contains an HTML MIME header. If this option is not selected, the composer retains the toolbar state from the previous session.
- Improve plain text version of HTML message
If checked, KMail will append footnotes to the plain text version of every message composed in HTML. These plain text footnotes will be clickable links pointing to any resources coded as anchor tags (aka links) in the HTML version of the message.
- Automatically request message disposition notifications
If checked, → will default to on. Check this option only if you know what you are doing. MDNs are considered a nuisance (or are simply ignored) by a lot of people. It is better to request them only when necessary.
- Use addresses indexed from emails for autocompletion
If checked, KMail will include the addresses from all your saved messages in the list of autocompletion targets (e.g., when you start typing in the To: input field). These will appear as "Contacts found in your data". If you switch this off, only the matching KAddressBook entries and "Recent Addresses" will appear in the list. Use the spin box to limit the number of items displayed in the list.
- Use recent addresses for autocompletion
If checked, KMail will include the addresses that have been used recently in the list of autocompletion targets (e.g., when you start typing in the CC: input field). These will appear as "Recent Addresses". If you switch this off, only the matching KAddressBook entries and "Contacts found in your data" will appear in the list. Use the spin box to limit the number of items considered "Recent".
- button
Click on this button to open the autocompletion configuration dialog. You may adjust the order in which items appear, add or remove "Recent" addresses, and create a blacklist of addresses that should never appear as autocompletion targets. Notice that this dialog may also be invoked from a context menu by clicking the mouse button in, say, the "To:" field of the composer.
- Autosave interval
A backup copy of the text in the composer window is by default created regularly. This option lets you specify how often a backup copy is created. You can disable autosaving by selecting "No autosave".
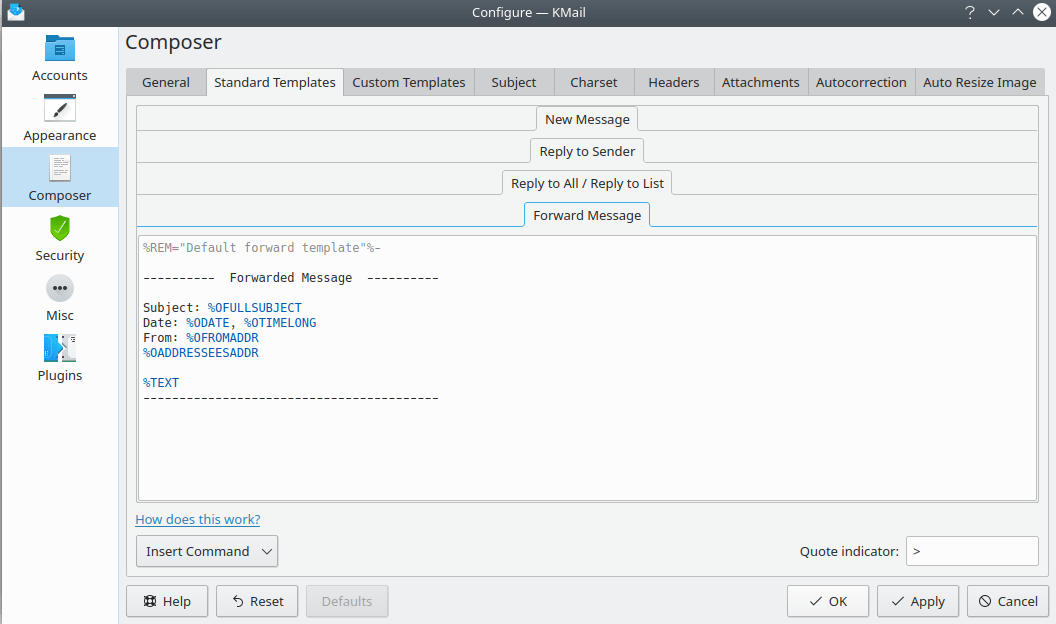
The Composer (Standard Templates) Tab
Here you can edit the default message templates used when you compose a new message, write a reply, or forward a message. Message templates support substitution commands, by simply typing them or selecting them from the menu. These are global (default) templates. They may be overridden by per-identity templates or per-folder templates if any such are specified. Most people are happy with the standard default templates. But if you wish to tweak the defaults, this is the place to do it.
For a more detailed explanation of template configuration, please refer to the Identities chapter.
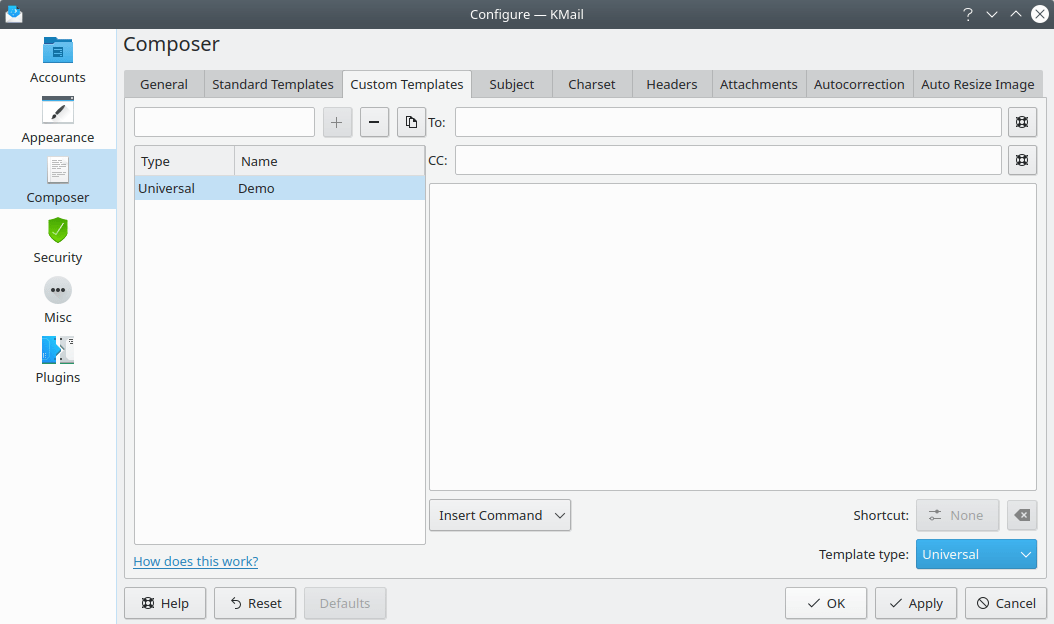
The Composer (Custom Templates) Tab
Here you can add, edit, and delete custom message templates to use when you compose a reply or forward a message. Create the custom template by typing the name into the input box and press the + button. You can bind a keyboard combination to the template for faster operations.
Message templates support substitution commands, by simply typing them or selecting them from the menu.
There are four types of custom templates: used to Reply, Reply to All, Forward, and Universal which can be used for all kinds of operations. You cannot bind a keyboard shortcut to Universal templates.
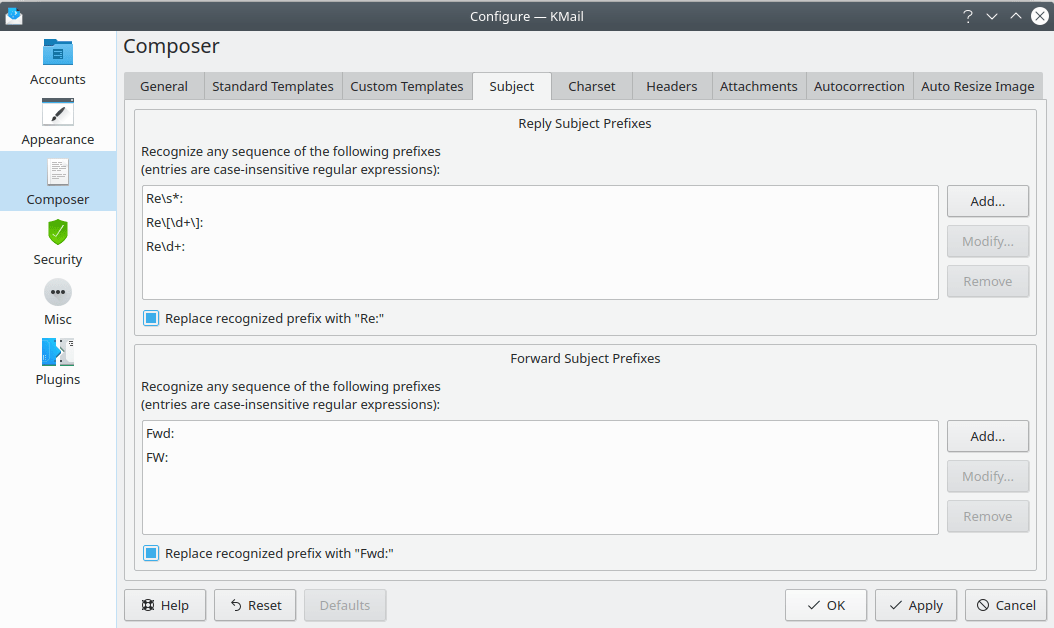
The Composer (Subject) Tab
This section contains a list of prefixes for “Reply” and “Forward”. If you receive messages that use prefixes differing from the standard prefixes, you may add them to this list so KMail will recognize them. KMail will then ignore the odd-ball prefixes when sorting messages (and when setting the subject of a reply or a forwarded message), and optionally replace them with “Re:” or “Fwd:”, respectively.
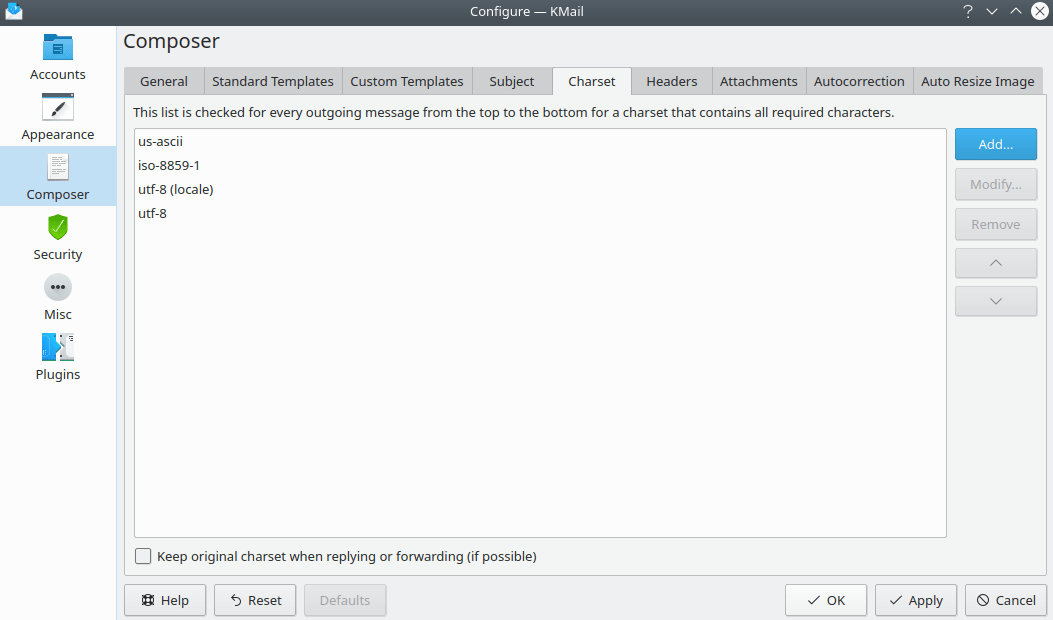
The Composer (Character Set) Tab
Here you can manage the default character sets used for your own messages. Every message you send will be checked to see if it is written with one of the listed character sets, starting at the top of the list. If it is, that character set will be used. If it is not, a dialog will appear and tell you that you must choose a character set via → .
If you select Keep original charset when replying or forwarding (if possible), the original message's character set will be kept, unless there are now characters that cannot be represented using that set of characters.
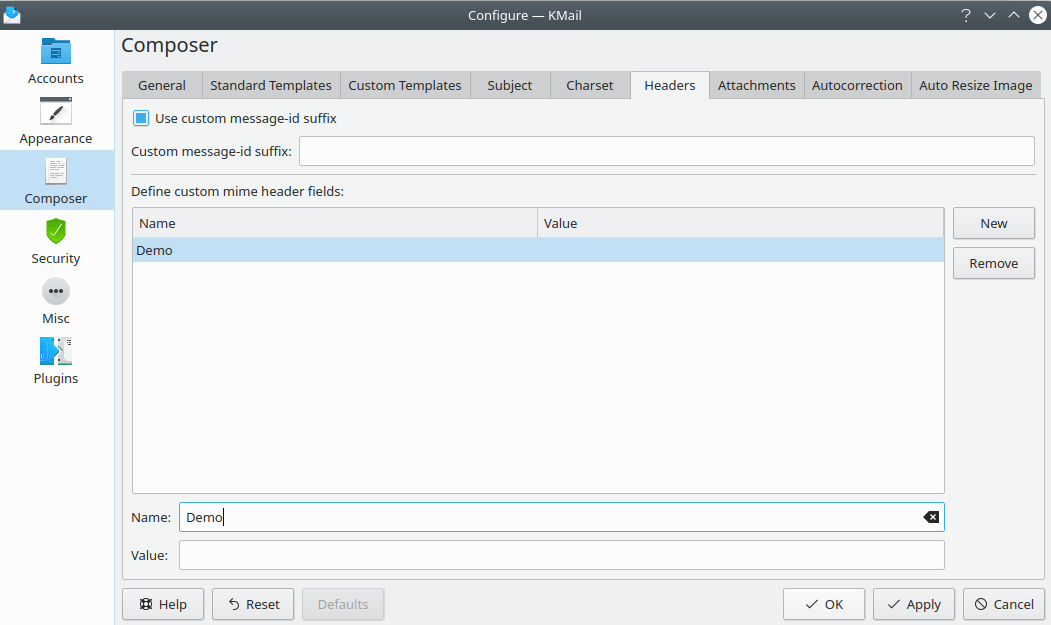
The Composer (Headers) Tab
Check the Use custom message-id suffix checkbox if you want KMail to generate Message-Id's with a custom suffix. Enter the desired suffix in the Custom message-id suffix field. Please make sure that the suffix you specify is unique (within the webiverse). The simplest way to ensure uniqueness is to use the name of your own domain, if you have one. If you do not check Use custom Message-Id suffix, KMail will automatically generate the complete Message-Id. If you do not know what this is all about, do not choose this option.
The Define custom mime header fields list sets the headers that KMail will use for its outgoing messages. You may both invent new fields and overwrite existing ones. This feature is only useful for experts.
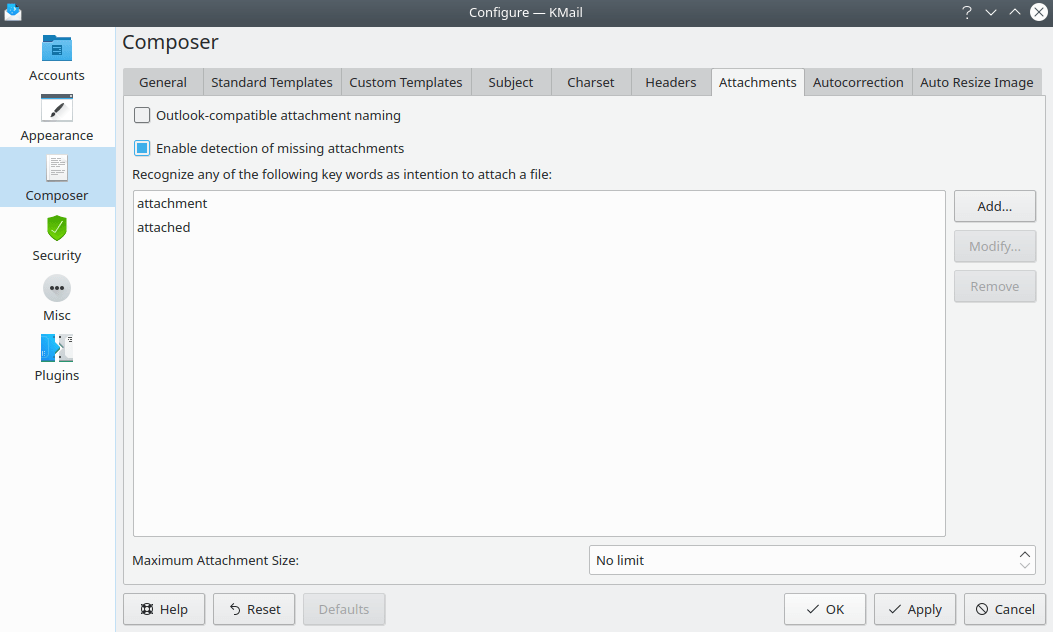
The Composer (Attachments) Tab
If you have to send attachments with filenames containing non-English characters to users of Microsoft® Outlook or Microsoft® Outlook Express, you might want to check the Outlook-compatible attachment naming option. KMail will then encode the attachment names in a non-standard way that is understood by Microsoft® Outlook.
When you select this option, KMail will create messages that do not comply with email standards, and consequently it is possible that your messages will not be understood by standards-compliant mail clients. So you should not enable this option unless you must.
Check the Enable detection of missing attachments checkbox if you want KMail to warn you whenever you are about to send a message without attachments even though the message text contains certain words which may indicate that you want to include an attachment. The list of key words can be modified.
Use the Maximum Attachment Size: spin box to limit the size of any attachments you send. If you try to attach a file larger than the specified limit, KMail will issue an error message and refuse to attach the file. Note that this is an individual limit, and not an aggregate limit. Also, the file size is checked before the file is converted to base 64 encoding, if that is necessary.
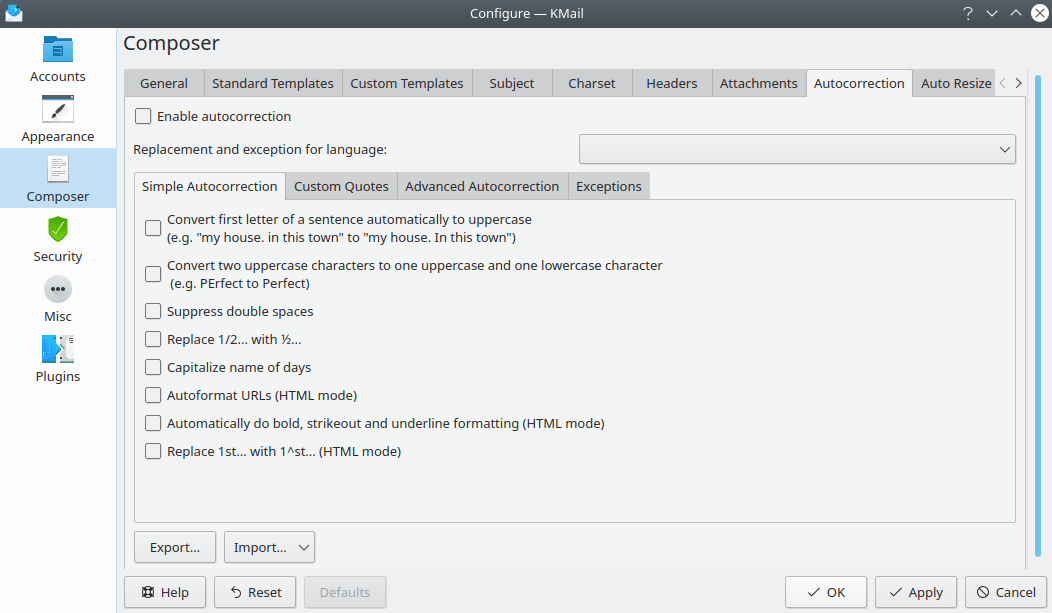
The Composer (Autocorrection) Tab
To enable automatic correction of common typing errors, select the Enable
autocorrection option. Use the drop down list to choose your language.
You may import settings, either from LibreOffice or another KMail
/ Calligra installation, via the Import ...  button. If you need to save your settings for
another installation or application, use the button.
button. If you need to save your settings for
another installation or application, use the button.
Autocorrect Options
- Simple Autocorrection
This allows you to configure KMail to automatically correct various common typographical errors. Check the boxes next to the autocorrection features you want.
- Custom Quotes
You can replace double or single quotes with “smart” quotes by checking the appropriate box. You can also add a non-breaking space before specific punctuation marks in French text by selecting that option.
- Advanced Autocorrection
You can customize automatic word replacement by selecting this option. To enter a custom string that will be replaced automatically, enter the word to be replaced in the Find box and enter the replacement word in the Replace box, then click the button. To remove a custom word from the list, highlight that entry and click .
- Exceptions
This dialog lets you create exceptions where you can tell KMail to ignore some periods (end of sentence) and two uppercase letters (e.g., KMail). Enter the exception and click the button. To remove the exception, highlight the string and click .
Once you have made all of your autocorrect selections, click , or .
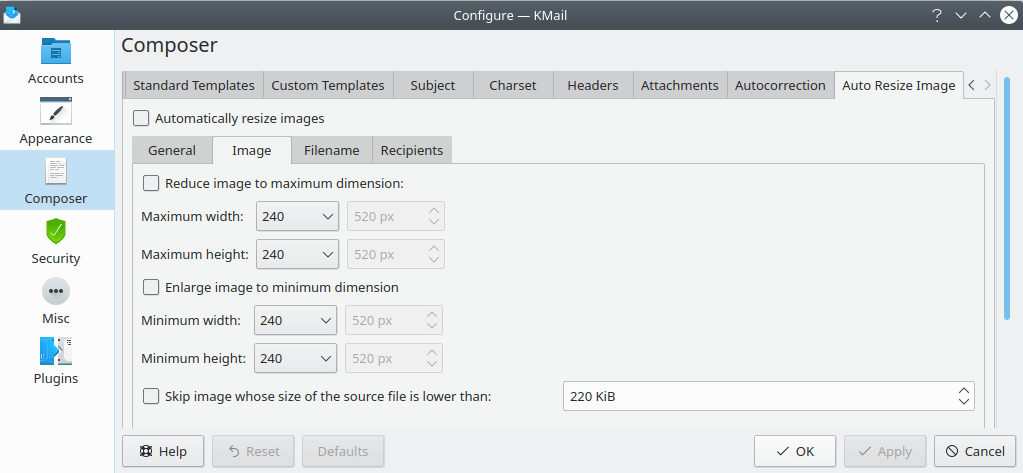
The Composer (Auto Resize Image) Tab
In some circumstances you may want to have KMail automatically resize image attachments in outgoing emails (e.g., because of server limits). To do so, select Automatically resize images. There are several options that accompany this feature.
- General
There are three options under "General". If you want to preserve the aspect ratio of all images, select Keep ratio. KMail by default asks you if you want to resize before resizing. If you want the program to resize images without asking, unselect Ask before resizing. KMail will by default send the resized image in JPG format. If you would rather have such images sent in PNG format, select that from the Fallback to format: drop down box.
- Image
Suppose you have a relative who can only receive image files of a certain size because of their email provider's limits. You can use the Reduce image to maximum dimension: option to select a size to shrink the image to, and enter their email into the filters on the Recipients tab. (The Recipients tab is discussed in further detail below.) If you need a custom size, choose the last option Custom from the width and height drop down boxes, and enter a number of pixels in the text box. You may also enlarge images by selecting Enlarge image to minimum dimension. The last option allows you to skip resizing images that are smaller than the specified file size.
- Filename
- Source filter
If you would like the resizing to be done based on the name of the file, select the appropriate filter here. Suppose you need to send your boss multiple images daily, and your boss requires all of them to be the same size. You could name your work images work1, work2 etc., then select Include all files whose names contains one of the patterns and enter work into the Pattern: text box. You can also exclude files in the same way by selecting Exclude all files whose names contains one of the patterns. The default behavior is no filtering.
- Image Format
Select Resize all images with one of these formats to set a specific format to resize the image to.
When this option is enabled, you must click the button, then select a format from the dialog.
- Resize filename
Select Rename resized images with the following pattern: if you would like your resized images to be renamed with a specific pattern. Enter the pattern into the text box. You may use:
%t set current time %d set current date %n original filename %e original extension %x new extension
- Recipients
This tab is where you specify recipients who need to receive resized images. You must decide if you need multiple entries or only one, and enter the email(s) into the text box using the “;” as a separator when there are multiple items. You may also specify certain recipients for whom images ought not be resized. The default is no filtering.