You can find a quick introduction to both sending and receiving accounts in the Setting up your Account section.
This page allows you to create one or more (incoming and outgoing) accounts, i.e., combinations of mail servers, login information, and other settings. Typically, you will create one outgoing (used for sending messages) and one incoming (used to retrieve messages) account. You may create as many accounts as you want, though, and assign each one to a different identity. Or you may set up just one identity, and decide which account to use each time you compose a message. This page also lets you set up one or more LDAP (Lightweight Directory Access Protocol) servers.

The Receiving Account Tab
For basic information, see Setting up your Account: Receiving.
The column of buttons on the right let you a new account, and or Remove an existing account. You ought not modify or remove the Local Folders entry, which is present by default. The Restart button will simulate a program restart.
The button opens a dialog that lets you move any IMAP accounts you have created, and the group of accounts associated with Local Folders, higher or lower in the list.
The Retrieval Options popup menu for each account lets you specify whether KMail should check for new mail immediately after it has been started. You may also select Include in Manual Mail Check and Switch offline on KMail Shutdown.
If Detailed new mail notification is enabled then KMail will show the number of new messages for each folder provided you have chosen to be notified with a dialog. More advanced notification options, like playing a sound or synthesizing speech, are available via the button.
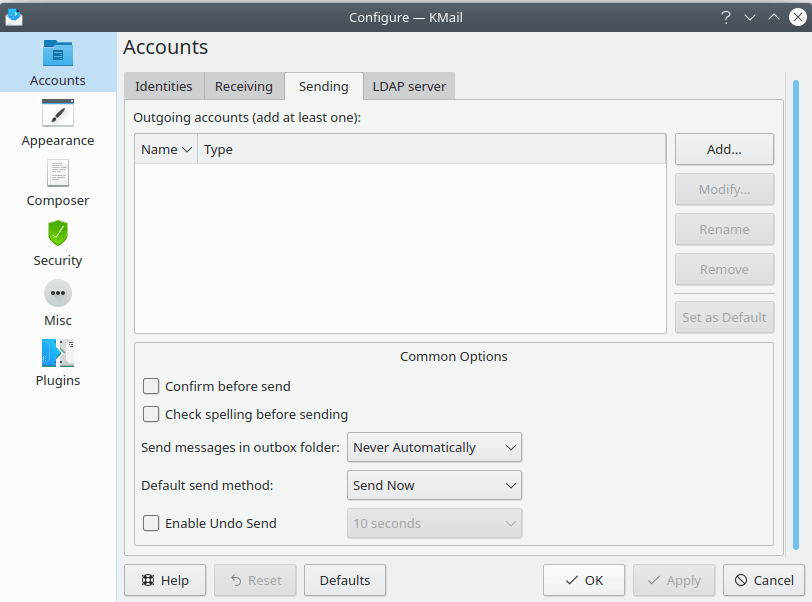
The Sending Account Tab
The Sending tab lets you define new outgoing mail servers, and also set some options that affect all the messages you send.
For basic information, see Setting up your Account: Sending.
When you click or the Create Outgoing Account or Configure account dialogs will open respectively. For sending via sendmail® or similar programs you may specify a name and the location of the sendmail® program. For SMTP you must specify the Name, Outgoing mail server, and Port of the server. Server requires authentication will enable the Login and Password fields. If you are not sure about the security settings, you should make KMail test for the best settings by using on the Advanced tab.
Confirm before send will pop up a confirmation box every time you send a message. Check spelling before sending will invoke the spell checker before a message is sent.
Send messages in outbox folder lets you specify when queued messages, i.e., messages in the outbox folder waiting to be sent, should be dispatched. You may choose among three options.
- Never Automatically

Queued messages will only be sent if you select → .
- On Manual Mail Checks
Queued messages will be sent after you have manually checked for new mail, e.g. with → . Of course, you may also send the queued messages manually via → .
- On All Mail Checks
Queued messages will be sent after every check for new mail, i.e., after automatic mail checks, and also after manual mail checks. Of course, you may also send the queued messages manually via → .
Default send method: lets you define what happens when a message is sent. If Send now is selected, the message is sent to the mail server immediately. If Send later is selected, the message is queued in the outbox to be sent later with the → command, or automatically when you check your mail, depending on the setting chosen for Send messages in outbox folder, above.
The Enable Undo Send: checkbox lets you specify an interval of time (from 10 to 50 seconds) during which you may abort mail transport. Your message will be queued, and a small button will appear in the notification area. Click the button (in time) to stop the message from being sent.
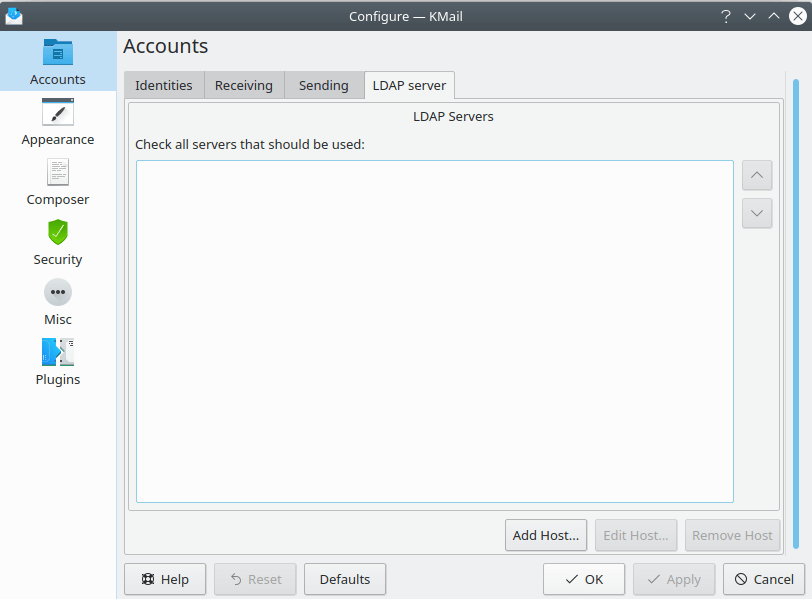
The LDAP Servers Tab
Use this dialog to configure any LDAP servers you wish to access. Please consult the KAddressBook Appendix for more details.