The basic idea of the Project plugin is to have a structured list of files belonging to the project with the following properties:
Provide a structured view of the files
Make it easy and very fast to open and switch projects
Support search and replace for a project
Provide simple auto completion
Make it simple to quickly open files in the project
Support for building the project
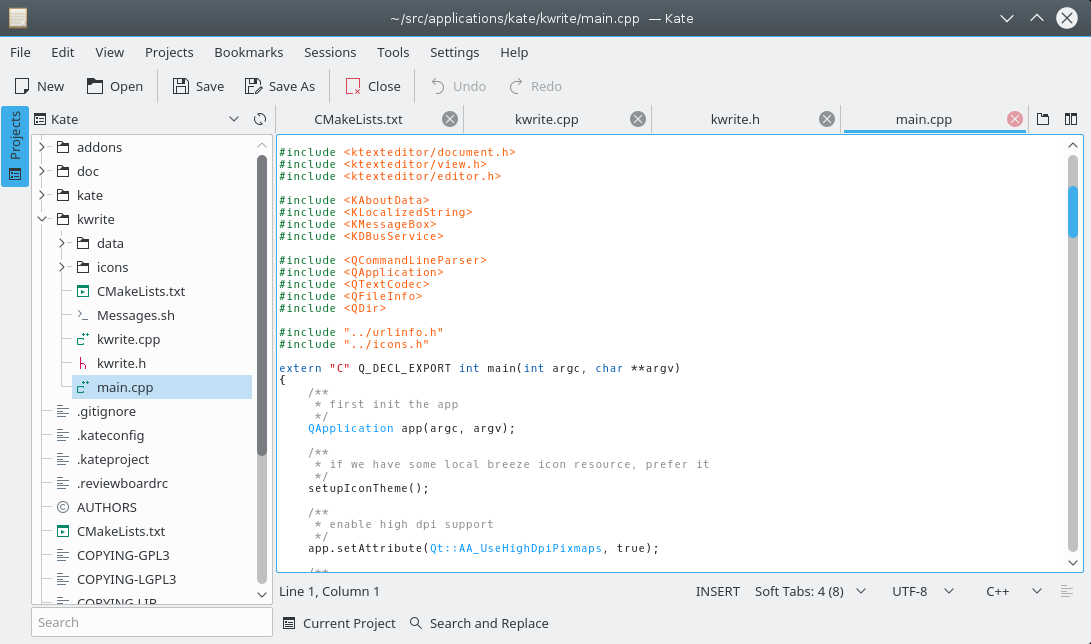
Once the Project plugin is loaded in the Kate configuration page, open a file in a project and a sidebar appears that lists all projects as well as the project files as follows:
As you can see, the currently active project is “Kate”, and its contents is
listed in the tree view. Clicking on files in the tree view opens the file in the
editor. Further, a context menu is provided with which you can open files with
other applications, such as a .ui file with Qt Designer.
You can filter the items by typing parts of the file name you are looking for into the search bar at the bottom of the list.
The idea is that you never have to open a project manually, this is even not
supported at all. Hence, what happens if you open a file, the Project plugin quickly
scans the folder and its parent folders for a .kateproject file. If found, the project
is automatically loaded.
Furthermore, if you open another document in Kate, that belongs to another project, the Project plugin automatically switches the current project. So intuitively, always the correct project is active. Of course, you can also switch the currently active project using the combo box.
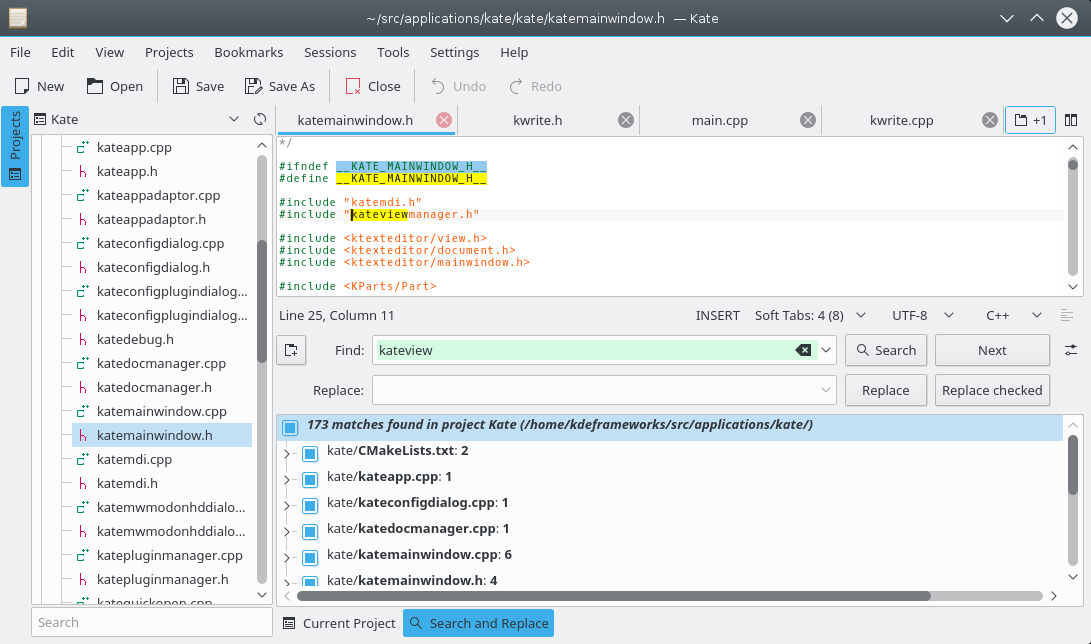
Kate has a Search and Replace plugin that shows up in the bottom sidebar. If a project is loaded, open the Search and Replace sidebar, and switch to the mode to search and replace in the current project:
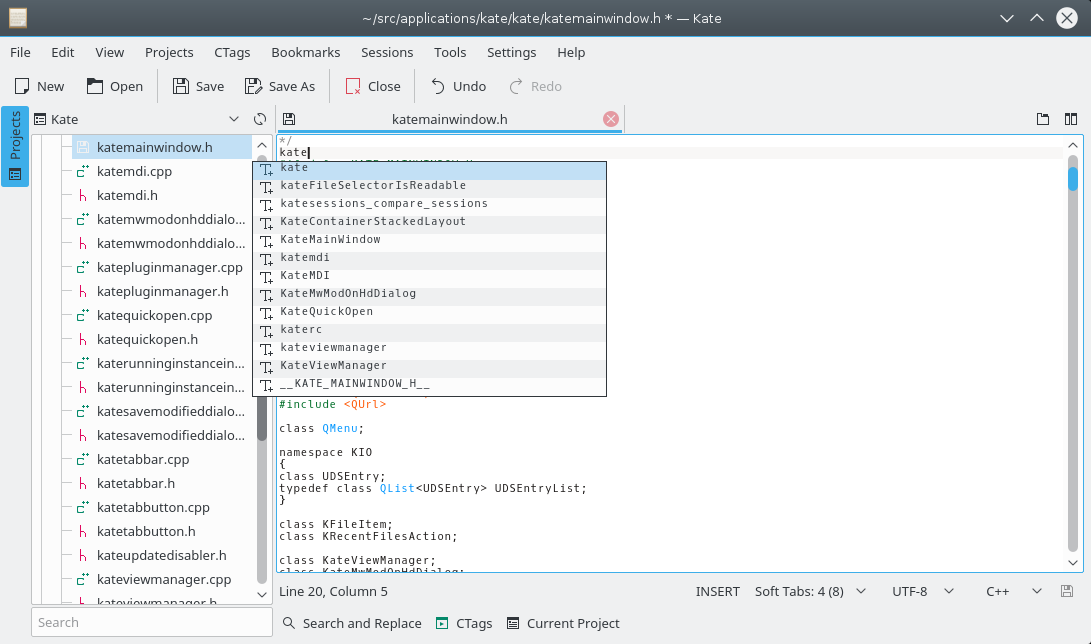
With the knowledge of all files belonging to a project, the Project plugin provides
simple auto completion facilities based on CTags. If a project is initially opened, CTags
parses all project files in a background thread and saves the CTags information to
/tmp. This file then is used to populate the auto
completion popup in Kate.
In contrast, without this auto completion, Kate is only capable of showing auto completion items based on the words in the current file. So the auto completion provided by the Project plugin is much more powerful.
If CTags is missing, a passive popup warns you about this issue. It is also noteworthy,
that the CTags file in /tmp is cleaned up when Kate
exits, so the plugin does not pollute any folder with unwanted files.
Another feature is to have support for the Build Plugin, so that it automatically is configured correctly.
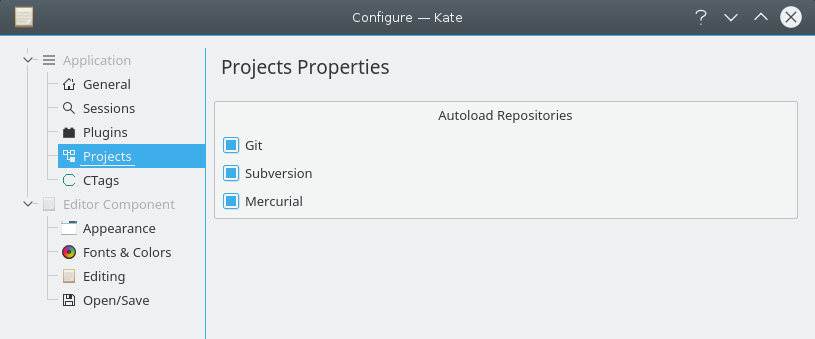
The Project plugin has an auto-loading feature. You can read the file list from the version control system. To this end, auto-loading for the respective version control system needs to be enabled in the settings (enabled by default):
You just have to create a .kateproject file in the root folder of the project.
For instance, the “Kate” .kateproject file looks like this:
{
  "name": "Kate",
  "files": [
    {
      "git": 1
    }
  ]
}
The file content is written in JSON syntax. The project name is “Kate”, and the files contained in should be read from Git.
Also supported instead of git is subversion through svn and
mercurial through hg.
If you do not want to read files from a version control system, you can just invoke kate from command line as:
kate /path/to/folder
or you can tell it to recursively load files from directories as follows:
{
  "name": "Kate",
  "files": [
    {
      "directory": "kate",
      "filters": [
        "*.cpp",
        "*.h",
        "*.ui",
        "CMakeLists.txt",
        "Find*.cmake"
      ],
      "recursive": 1
    }
  ]
}
Here, subfolders and filters define what’s part of the project. You can also mix version control and files based on filters.
If you want to add support for the building, you can write a
.kateproject like this:
{
  "name": "Kate",
  "files": [
    {
      "git": 1
    }
  ],
  "build": {
    "directory": "build",
    "build": "make all",
    "clean": "make clean",
    "install": "make install",
    "targets": [
      {
        "name": "all",
        "build_cmd": "ninja"
        "run_cmd": "./bin/kate"
      },
      {
        "name": "kate",
        "build_cmd": "ninja kate-bin"
      }
    ]
  }
}
The targets specified above will then appear in the Build Plugin under
"Project Plugin Targets".
If the "targets" array is specified then "build", "clean" and "install" are ignored. Each element in the array specifies a target. "name" is the name of the target, "build_cmd" will be used to build the target, "run_cmd" will be used to run the target. Most important of all is "directory", this is where the commands will be executed.
In case you have a .kateproject file tracked by a control
version system, but you need to tweak the configuration for a particular
workspace, you can save those changes to a separated file named
.kateproject.local. The content of this file will take
precedence over .kateproject.
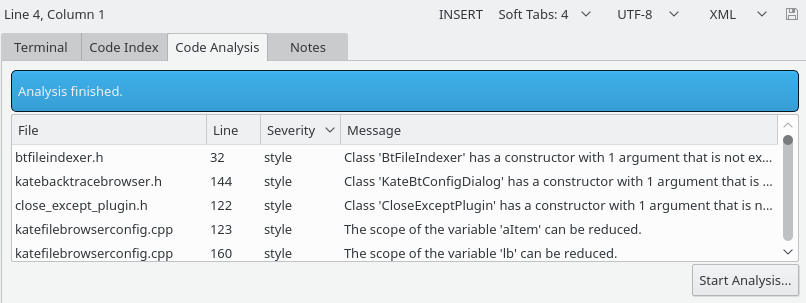
Using → (Alt+1) you can open the Current Project view at the bottom of the editor window with four tabs:
A Terminal emulator starting in the root folder of the project.
Entering characters into the search bar will start the search and display matching names of functions, classes, symbols etc. together with kind, filename and line number.
Select an item in the list to jump to the corresponding line in the source file.
Click Start Analysis to run a static code analysis for the C and C++ using cppcheck and to generate a report showing filename, line number, severity (style, warning etc.) and the issue found.
Select an item in the list to jump to the corresponding line in the source file.
Text entered in this tab will be saved in the file
.kateproject.notes.