Imagine you want to sent a number of images to a printer to get them developed on paper. To see which you want, you start the viewer on the images, and tag them as good, bad, or maybe, while inspecting each one.
You may of course create a few new items (say Good, Bad, Maybe) for an existing category, say the category Album. However, given that you likely do not need these tags once you've send the images to the printer, there is an easier way, namely by simply setting tokens on the images. Tokens are named from A to Z, and you set a token simply by pressing its letter. In Figure 5.6, “An Image with Tokens” you may see an image where the tokens A, B and C are set.

For this to work, you need to be in the Assign Tokens mode. See Figure 5.5, “Selecting annotation mode from the viewer”
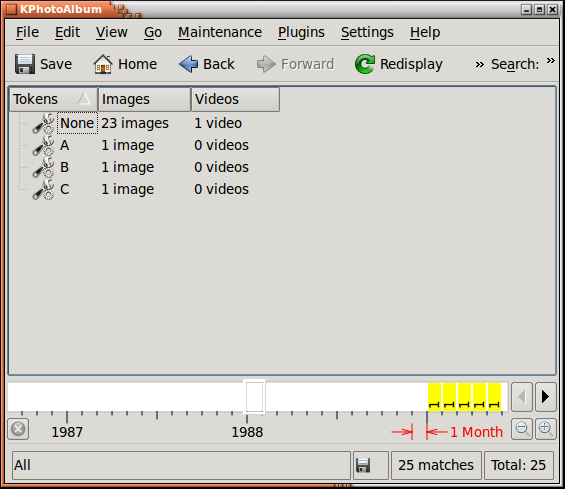
Once you've set tokens on your images, they will be available for regular browsing in the browser, as can be seen in Figure 5.7, “Tokens seen in the Browser”. So when you've marked images that needs to be edited, printed, or whatever, simply browse to the images, and process the set from there, e.g. by using copy images to... from the context menu.
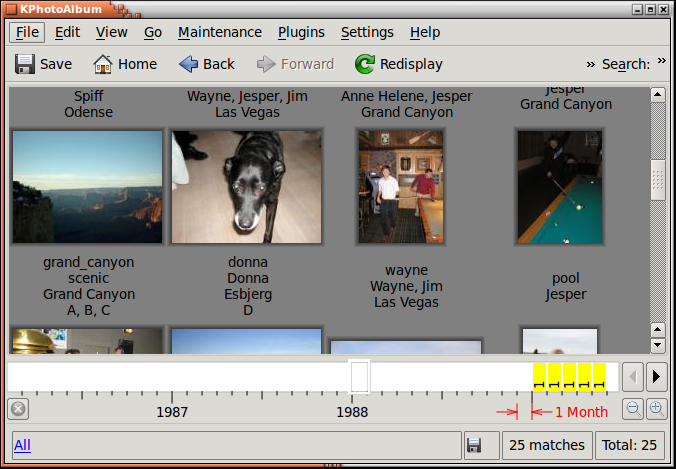
Categories (and esp tokens) may be displayed in the thumbnail viewer. When Showing the categories in the thumbnail viewer, you may also add tokens to images, simply by pressing the letter for the token when the image is selected, this can be seen in Figure 5.8, “Tokens seen in the Thumbnail Viewer”