- Annotation toolbar
Allows switching between (default toolbar in the top section of the Okular window) and (sliding toolbar with your favorite tools at the right part of the document pane).
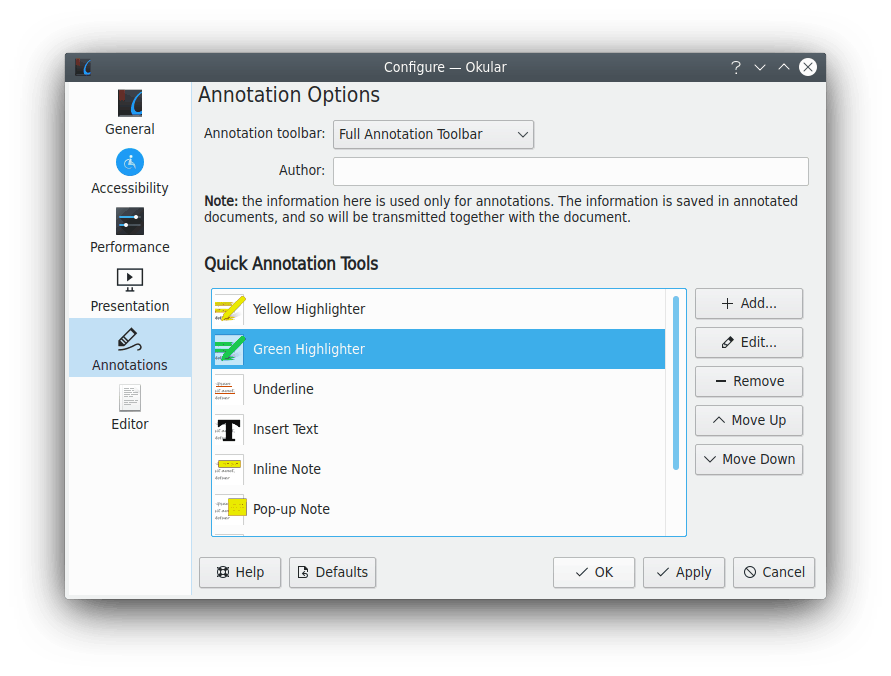
- Author
The author of the contents added on a document. Default is the name from the Password & User Account page of the System Settings module Account Details.
- Annotation tools
This pane is used to configure your annotating toolbar.
There are five buttons (, , , , ) and a list box (which lists the contents of the current annotating toolbar) which are used to configure the toolbar.
If you need to add some tool button on the toolbar click on the button. You can choose the Name, the Type and the Appearance of the created tool.
Note
Please remember that annotation tools in Okular are highly configurable. For example, you can have two buttons of the same tool but with different color. Do not hesitate to experiment in choosing the button set that is exactly tailored to your workflow.
Click on some item in the list box then click on the corresponding button at the right part of the page to edit, remove, move up or move down the item. The keyboard shortcut of the tool (keys from 1 to 9) depends on its position in the list of annotating toolbar.
- Using Custom Stamps
Create the icon you want to use for your own stamp and save it in any graphics format supported by Okular
Click the button, select type Stamp and enter a name for your stamp.
Enter the full path to your custom icon into the dropdown box in the Stamp Symbol group