Let's go back to the first slide now. Use the list of slides on the left of your screen.
In this section, we'll liven our presentation up a bit by adding a nice logo to the title page. To do so, the first step is to enable the Add Shape docker using → from the menu.
Now select Image in the Add Shape docker and click with the mouse button where you want to place the loge in it's original size or draw a rectangle with the left mouse (click the mouse button and keep the button pressed) to specify the position and size for the logo.
A file selection dialog appears. To learn about this or other standard KDE dialog boxes in detail, please consult the KDE documentation. You can browse by clicking on folder icons or by using the browser style buttons on the toolbar. Clicking the up arrow takes you up one folder level.
Select a file and click .
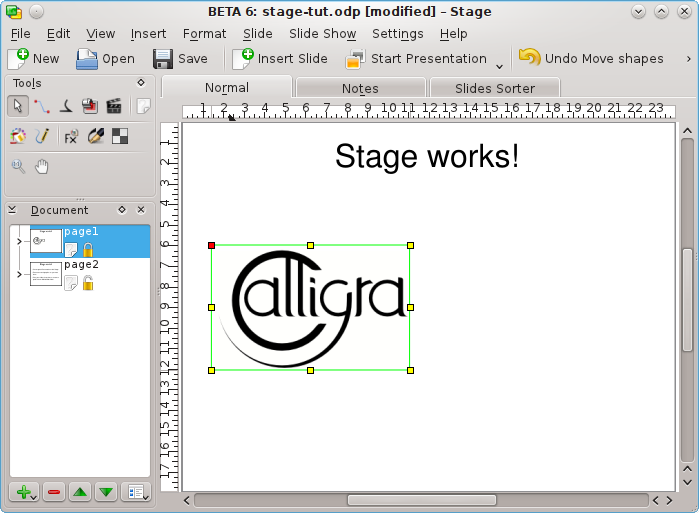
Now the image is inserted in the slide and there are selection handles (little squares) visible around the border of the graphic.

Place the mouse cursor anywhere in the middle of the logo, and drag it to the middle of the title page. Then use the selection handles to resize it correctly.
That's it. Now you have a picture on the title page!