In this section we will describe how to create new files and this not only with the usual vocabulary learning part, but also for grammar exercises, mathematics, etc.
In this section we describe how you can create a vocabulary training file including pictures and sound. In a second stage we will also add adjectives and verbs. This is a very complete example and therefore quite long. Eventually you will not need all points for your project.
Since we wish to add sound-files and pictures, we should make sure that these will all be in one folder which for convenience is being called eng-deu. Our data file we create with Parley will be saved in the same folder. This will help a lot when you decide to share your work with others.
So this is what we have in terms of sound files and pictures:

Let's start from the Dashboard which is shown once you launch Parley:

Press on the button.
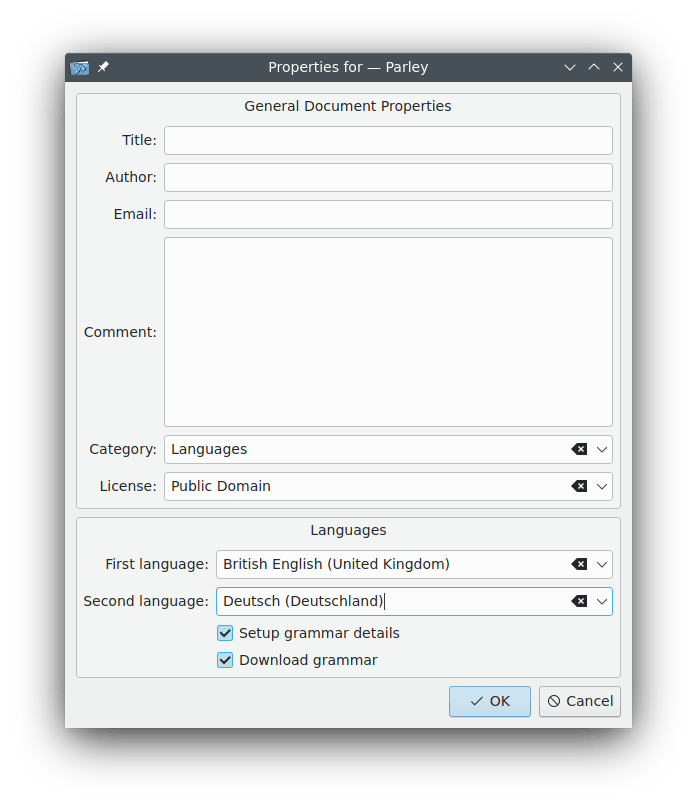
The General Document Properties section shows up which is being filled as follows (just adapt to what your file is about):
Next press on the button. The following screen asks you to set up the language details. Here we don't want to change anything and therefore we just press on .
As a first step, let's create the vocabulary part. We will think about the addition of the sound files and pictures in a second stage. This is what the unit looks like:
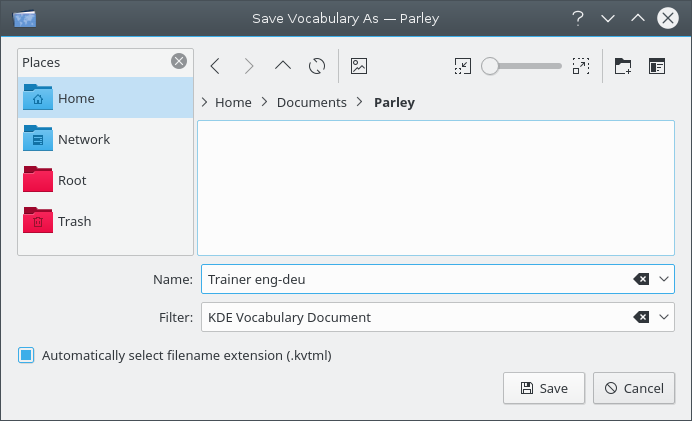
Before we do anything else, let's save the file to the folder with the pictures and sound-files. Use the → menu item and select the folder using the navigation. In this example we will call the file Trainer eng-deu - once you entered the name just press on the button.
If you now check your folder where the sound-files and pictures are, you will also find the file Trainer eng-deu.kvtml .
Let's have a short look at the words we want to add: apple, bird, cat, cherry, cow, orange, pear, snake, strawberry. We have animals and fruit and therefore we decide to create two units that are called: Animals and Fruits.
We now rename Lesson 1 to Animals and then we add a unit called Fruits. Click with the mouse button on the Lesson 1 and choose from the items shown. Now Lesson 1 is highlighted and you can simply overwrite it by typing in Animals. When done, press the Enter key. Now click with the mouse button on the Collection: Vocabulary trainer E..., which is the root of the unit tree and choose from the items shown. In the new field write Fruits and press the Enter key again.
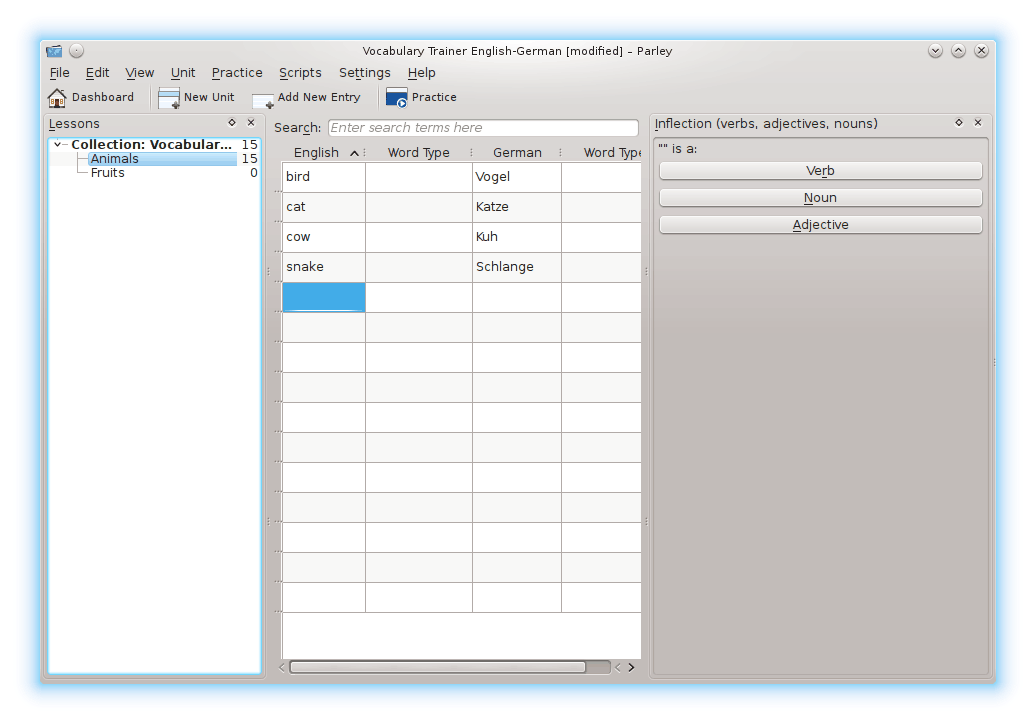
First, let's insert the animals. Please click on the unit Animals and you will get an empty table you can fill in. Click with the mouse button in the first field, and insert the source terms. Then, insert the target terms in the second column. Once you've inserted all 4 English animal names with their German translation the screen looks like this:
In our case we want only 4 entries in the animals unit. There are many empty lines that should be deleted. To do this click on the first empty field, and keep the Shift key pressed while clicking on the last empty field. All lines to be deleted will be highlighted. Then, press the Del key.
Let's add the fruit terminology. Just click on the unit named Fruits. This second unit is completely empty. Since we have five fruit terms we need to add five lines. Therefore, press the Ins key five times, and then, just like before, we add our terminology.
Don't forget to save every now and then ...
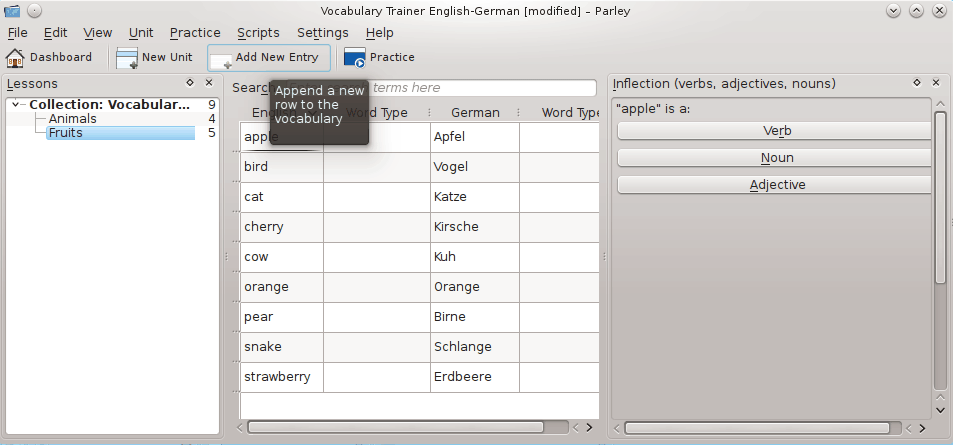
A click on the root of our unit tree Collection: Vocabulary trainer E... and Parley will show us all entries that are present in the two units:
Time to add sound and images. First of all we need to activate the Image and Sound views. Select the → and → check boxes. Once these options are activated, two new sections are shown as two new tabs on the bottom right hand side of the Parley editing screen.

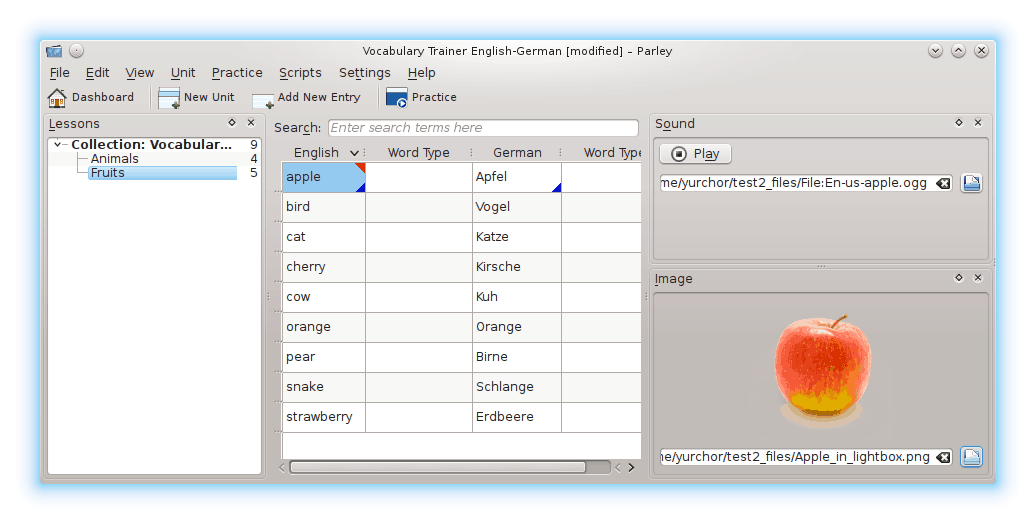
Select the English word apple by clicking on it. It is highlighted, so let's add the picture. In the image section on the right hand side press on the  Folder icon and choose the picture you wish to associate.
To add the pronunciation for the English apple, do the same in the Sound section, selecting the relevant sound file.
By pressing on the button in the sound tool you can listen to the pronunciation.
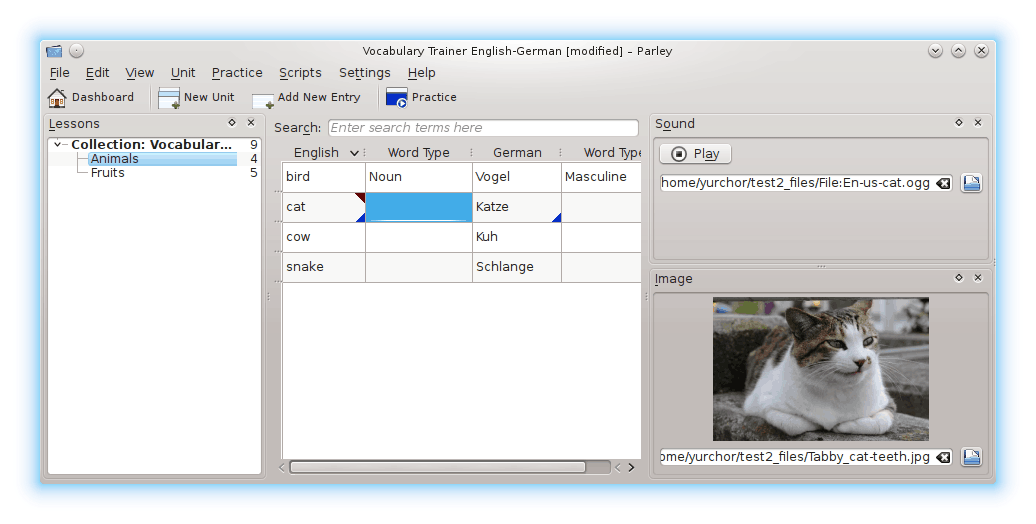
The screen will then look like this:
Then click on the German translation Apfel. The field is now highlighted to indicate the selection. You will note the picture with the apple is associated also to the German term. In the sound section select the pronunciation, just like before.
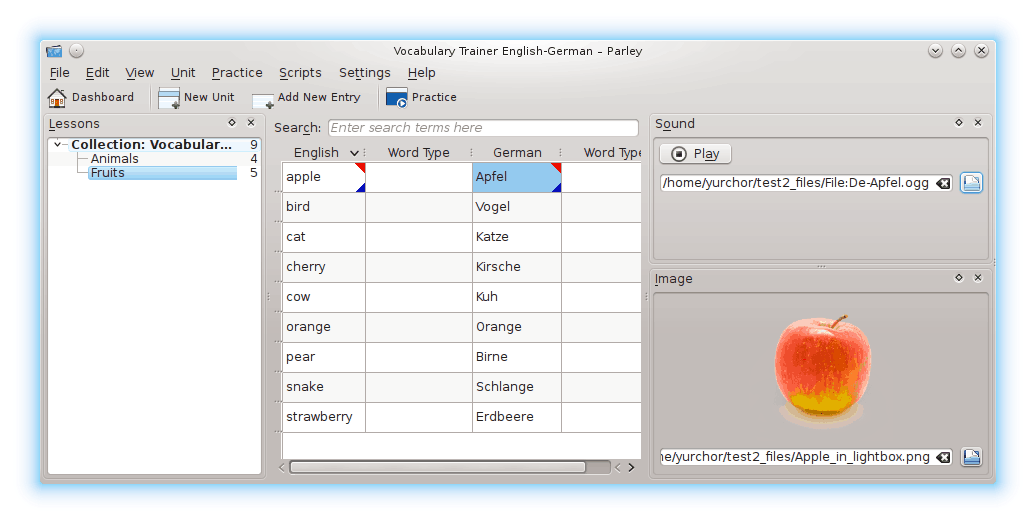
Just go ahead like this for all terms.
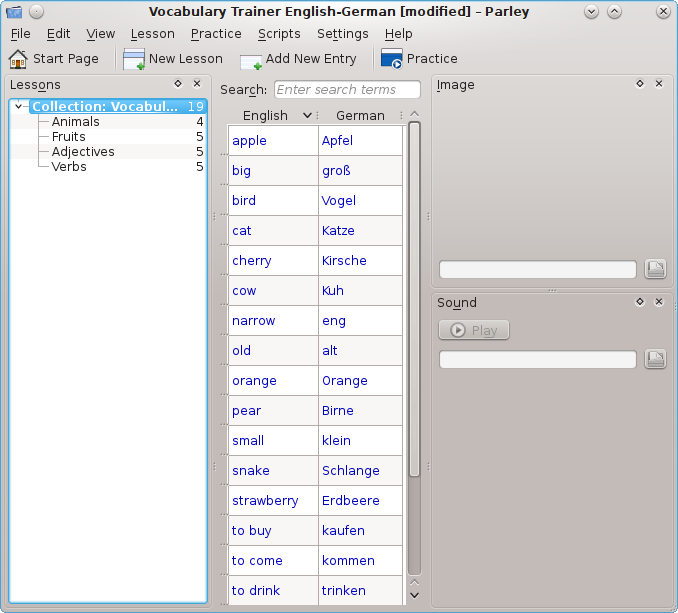
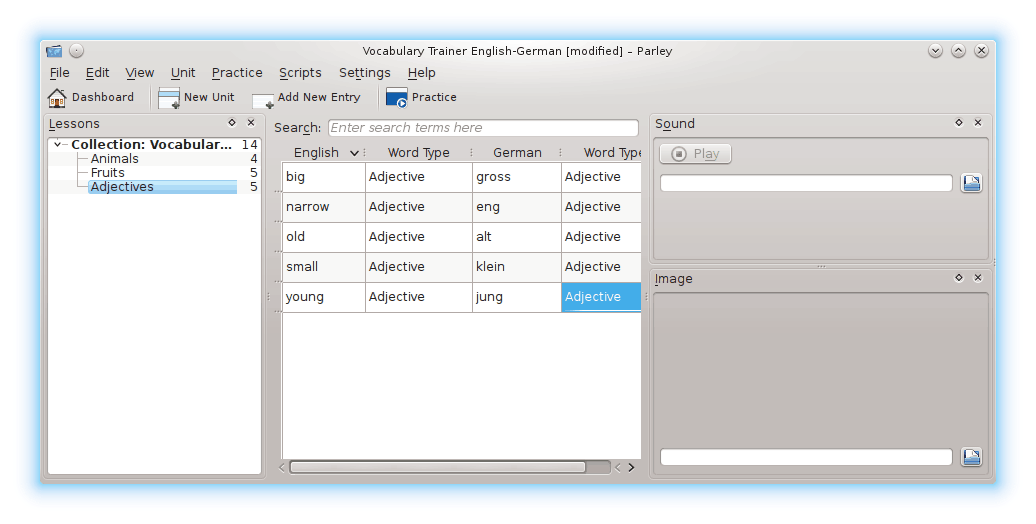
Time to add adjectives and verbs as units to our project. So just do as before with the unit Fruits and create two new units: Adjectives and Verbs. Let's assume we will add big, small, old, young, narrow in the adjective unit and to go, to come, to buy, to drink, to eat in the verb unit.
The following shows a screenshot with all inserted terminology. Now, words are mixed and it would be nice to see what is a noun, adjective or verb.
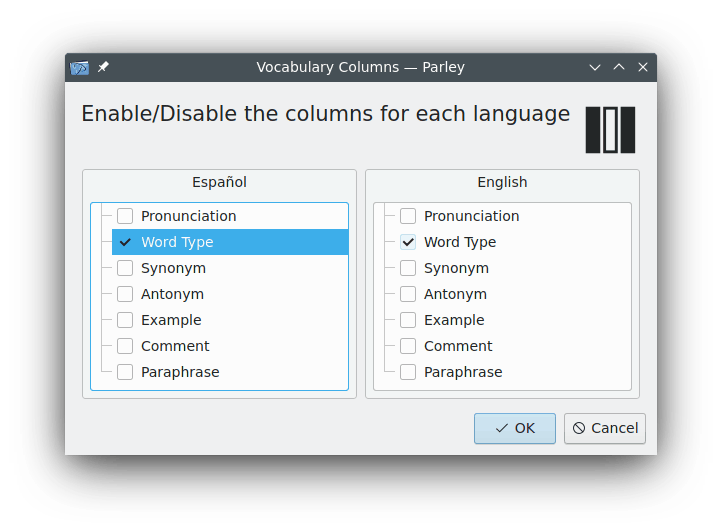
As the next step we are going to show the Word Type. Select the → check box. We activate Word Type for English and German by clicking on the check box in front of Word Type. Then press on the button to accept the changes.
By clicking on the fields in the column Word Type you can select the word type and for those languages where nouns have a gender you can also select the Noun/Gender combination. Alternatively start to type the first characters of a word type to select it. Below the Word Type column with part of the selections already done.
Once we have specified all the word types, we will first consider Adjectives, adding Comparison forms to them. So let's move to the Adjectives unit only.
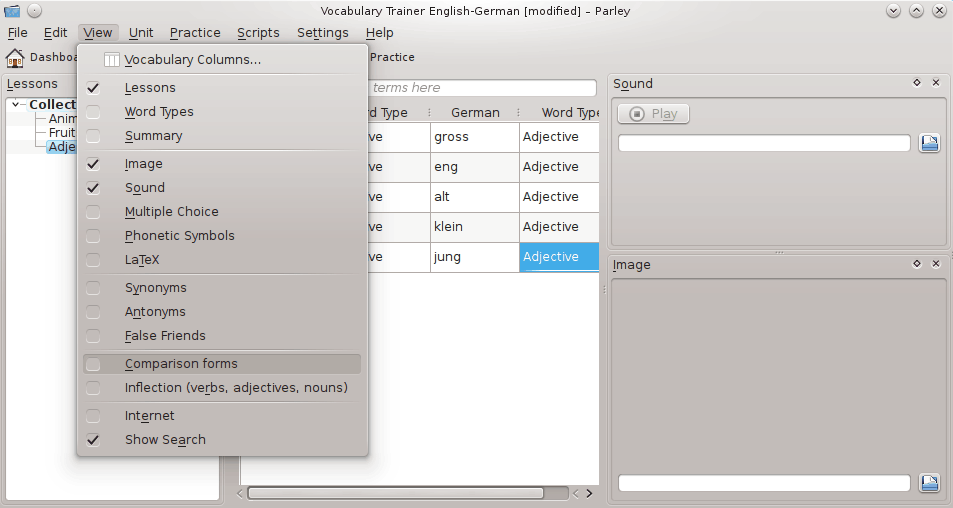
To show the Comparison Forms on the right hand side of the screen, select the → check box.
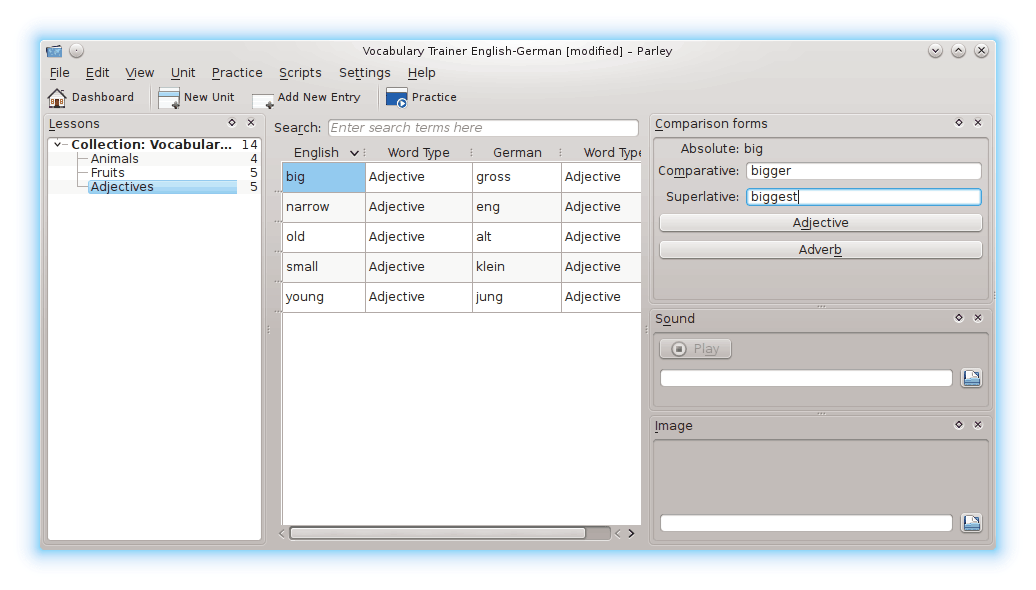
Edit the Comparison Forms by adding Comparative and Superlative to the single adjectives. First, click on the adjective for which you wish to add the comparison forms, in our case big, and add bigger and biggest. Then, continue with the next adjective to complete, until all comparison forms have been entered.
Finally, let's consider the conjugation form of the Verbs. Select the Verbs unit and then activate the inflection section on the right hand side by selecting the → check box. As an example we edit the present tense (Präsens) form of gehen. Please first select Präsens from the drop down box and then add the verb forms.
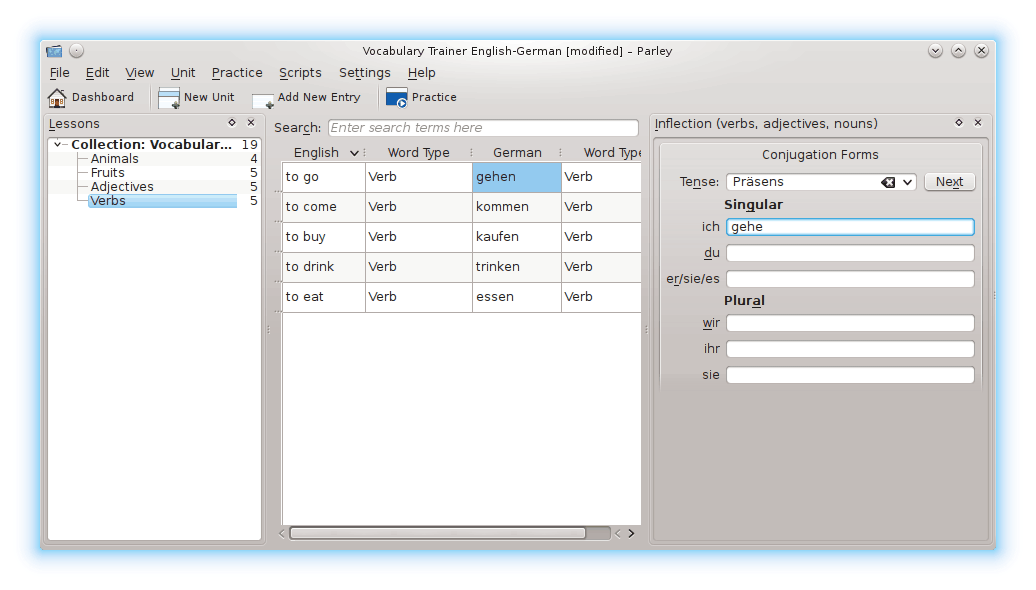
This needs to be done for all verbs, and in all possible tenses.
Once you are done you can start to practice by pressing on the  Practice icon in the toolbar.
This exercise was created for the 3rd class of an Italian primary school. Pupils are supposed to connect single names with collective names, such as tree → woods
When you start Parley you get the start page, eventually also listing some previously used files (that you cannot see here).
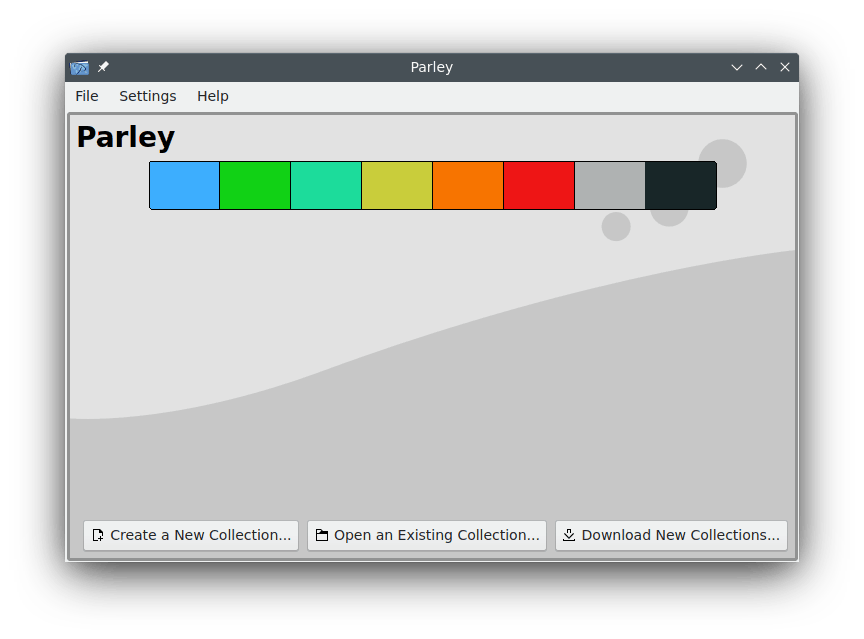
Press on the button and the following screen with empty or partly filled fields will show up:
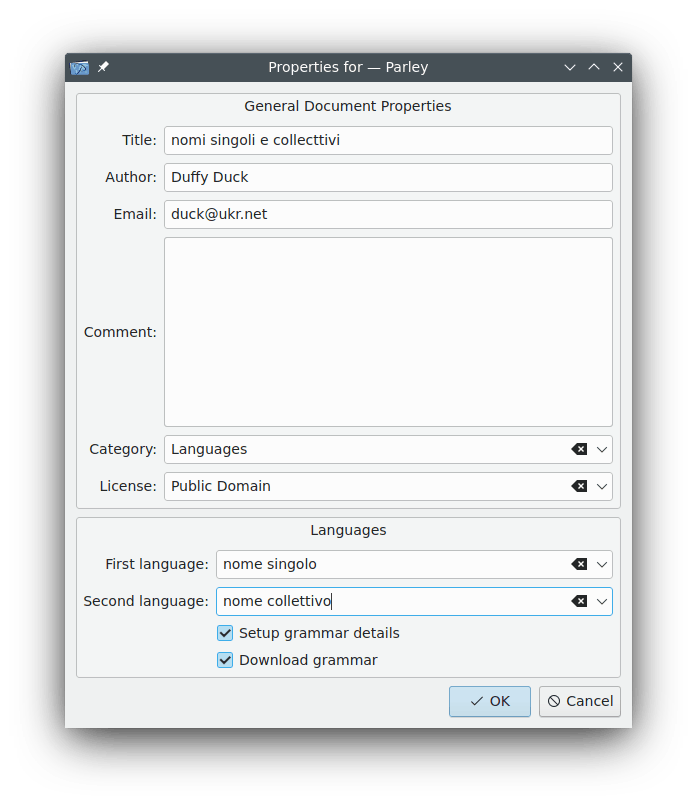
Fill in the title, here nomi singoli e collettivi, your name, email address, in the Comment: text box you can write down a more detailed description, select your Category: and License:. Then there we have something special: instead of indicating the First language: and Second language:, like it normally would happen, we added nome singolo (single name) and nome collettivo (collective name). The Setup grammar details and Download grammar options are not needed here. In the screenshot they are still activated - please deactivate them by just clicking on the check boxes. When you are done, please press on the button.
Select the → menu item and the Properties for nome singolo section comes up and here you see it already with the necessary changes made:
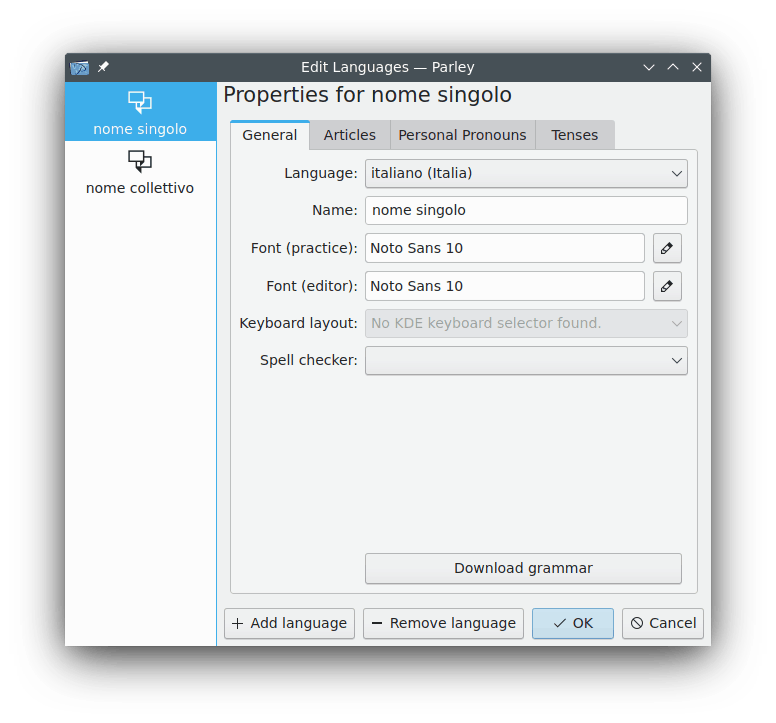
On the left hand side you can see where the data you are adding belongs to. nome singolo. Choose the language, here Italian and insert nome singolo in the following editable field. Then press on the button.
Now the Properties for nome collettivo section is shown:
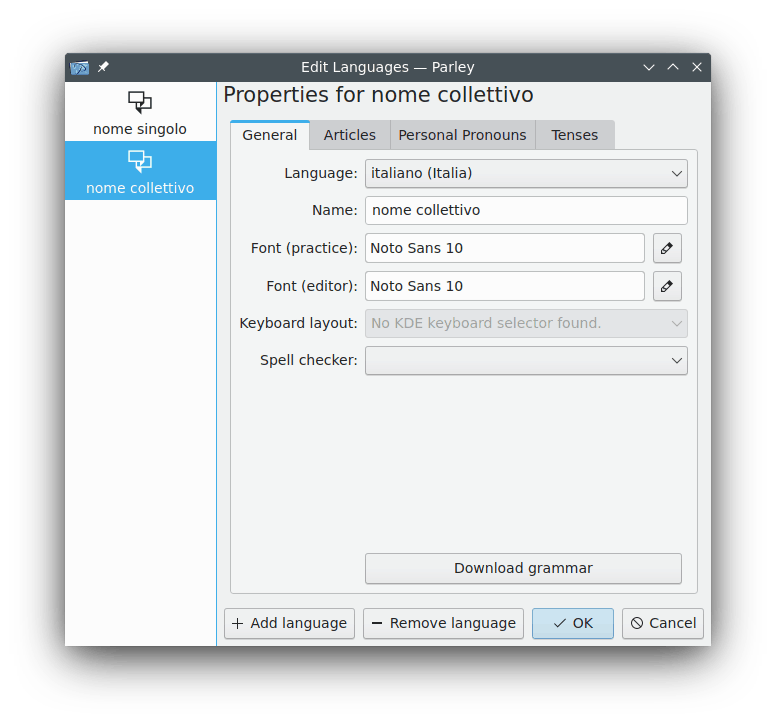
Like before: choose Italian as language and insert nome collettivo and press on the button.
And now you can start to edit:
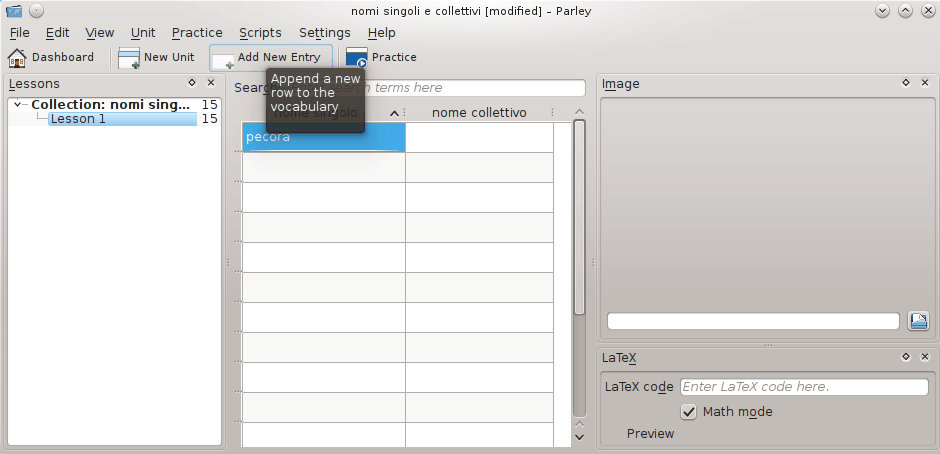
Just insert the nome singolo (single name) in the first column and the corresponding nome collettivo (collective name) in the second column.
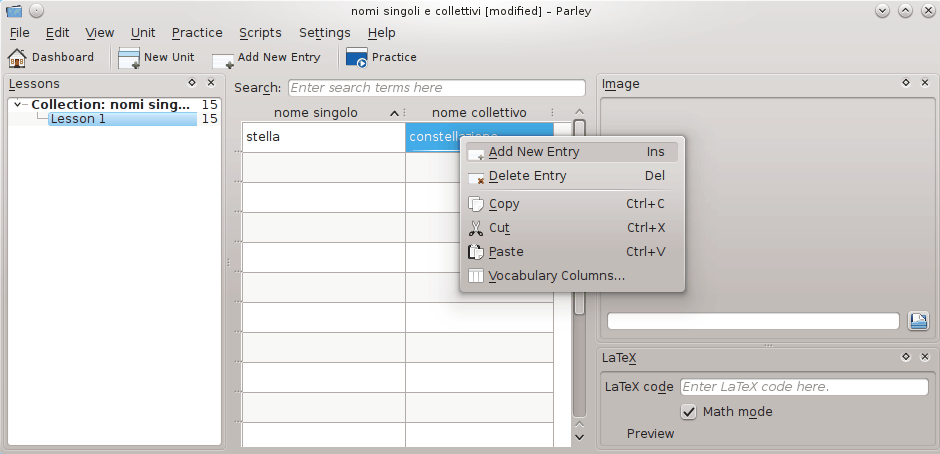
If the number of available fields is not enough, just click with the mouse button anywhere on the edit section and choose . Don't forget to save your file every now and then. When you have finished adding all entries you will want to see if Practice mode works fine. Well just press on the Practice icon in the toolbar right above the edit section and the page with the practice settings comes up:
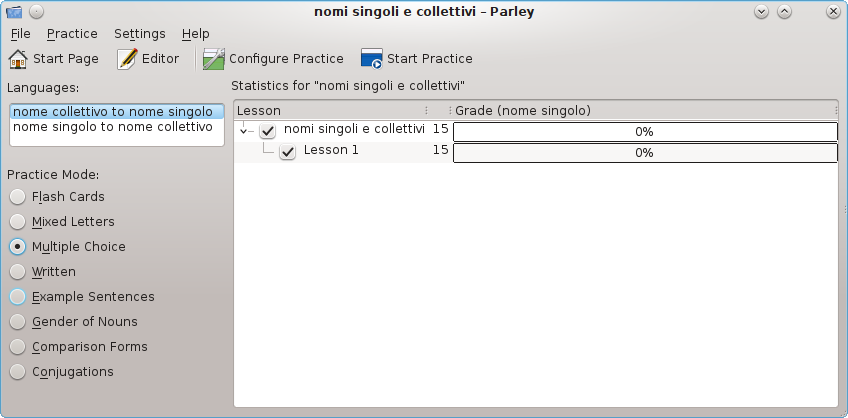
In this case Multiple Choice is a good option, but also Written will do fine. After choosing the Practice Mode just press on the Start Practice... icon in the toolbar and have fun.