Project Bin: Adding video clips
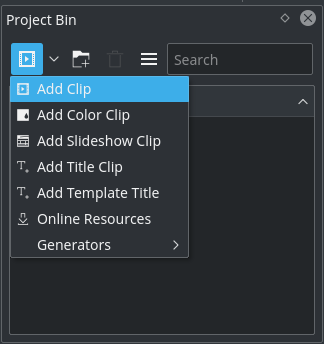
Now that the project is ready, let’s start adding some clips (i.e. the ones you downloaded). This works via the Project Bin widget; a click on the Add Clip icon ![]() directly opens the file dialog, a click on the small arrow shows a list of additional clip types that can be added as well. Video clips, audio clips, images, and other Kdenlive projects can be added via the default Add Clip dialog.
directly opens the file dialog, a click on the small arrow shows a list of additional clip types that can be added as well. Video clips, audio clips, images, and other Kdenlive projects can be added via the default Add Clip dialog.
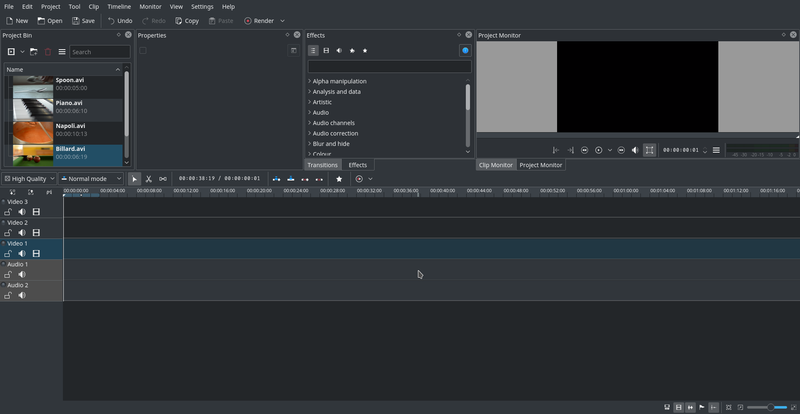
Kdenlive window with the tutorial files
After loading the clips, Kdenlive will look similar to this. On the top left there is the already known project tree. Right of it are the monitors that show video; The clip monitor displays video from the original clips, the project monitor shows how the output video will look, with all effects, transitions, etc. applied. The third, also very important, item is the timeline (below the monitors): This is the place where the video clips will be edited. There are two different types of tracks, Video and Audio. Video tracks can contain any kind of clip, audio tracks as well – but when dropping a video file to the audio track, only the audio will be used.
Saving a Kdenlive project
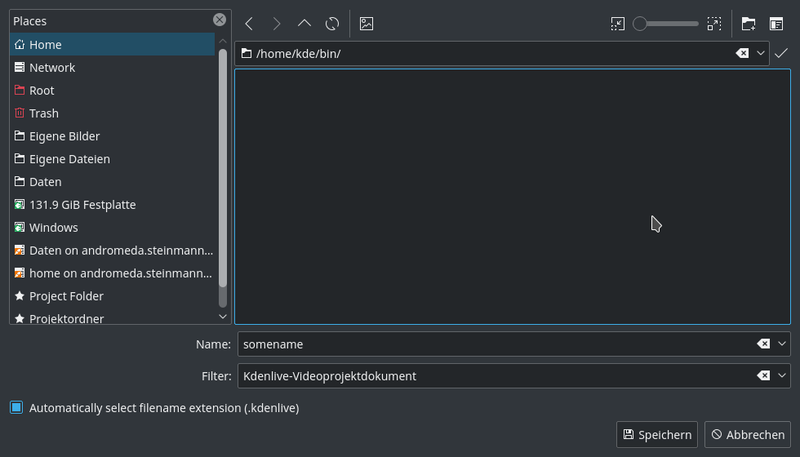
Let’s save the work via → . This saves our project, i.e. where we placed the clips on the timeline, which effects we applied, and so on. It can not be played.[4] The process of creating the final video is called Rendering.
[4] To be correct, it can be played using melt yourproject.kdenlive, but this is not the way you would want to present your final video since it is (most likely) too slow. Additionally, it only works if melt is installed.