Table of Contents
Here is a picture of the primary KAddressBook user interface before any address data have been entered. The first thing you may want to do is create an address book. Note that the “Personal Contacts” address book is present by default.
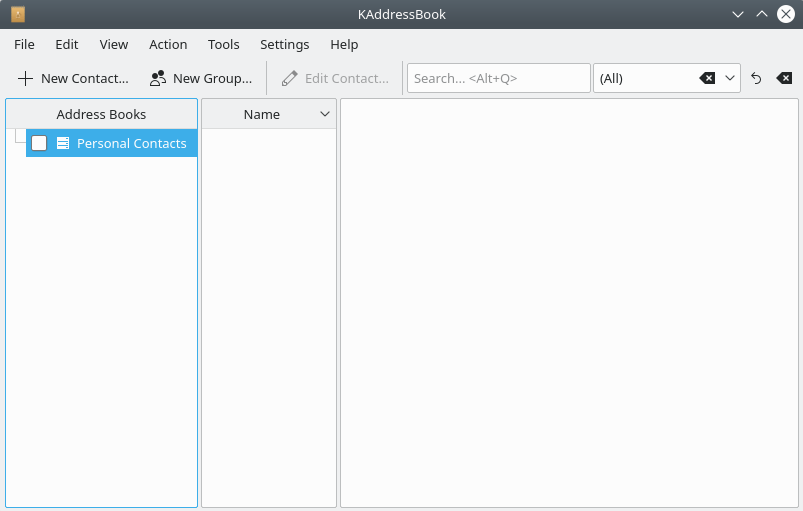
KAddressBook's “empty” GUI interface, before any extra address books have been created. The “Personal Contacts” address book is present when KAddressBook is first installed.
Open KAddressBook's Add Address Book dialog with the → →
 Add Address Book...
option. A dialog box will appear.
Add Address Book...
option. A dialog box will appear.
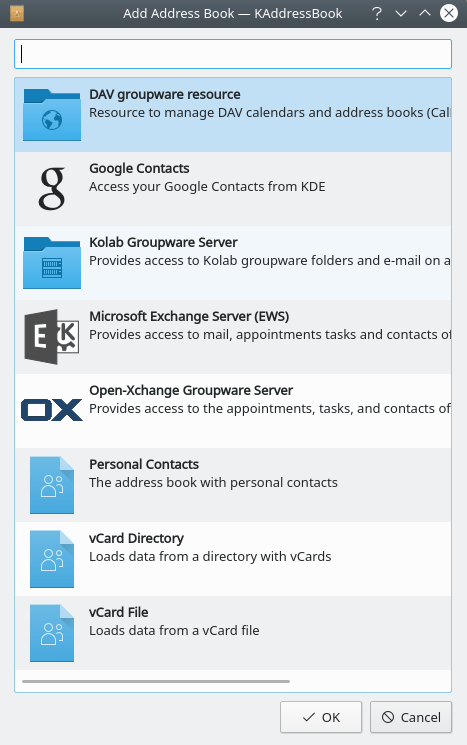
KAddressBook's Add Address Book dialog. Five cloud services are supported, plus three local storage options.
Choose one of the options that appear in the dialog. Several of these options link to data collections residing in the cloud: DAV groupware (Distributed Authoring and Versioning, RFC4918), Google Contacts (your gmail.com account), Kolab groupware server (collaboration via IMAP), Microsoft® Exchange Server EWS (Exchange Web Services, on servers running MS software), and Open-Xchange Groupware Server (an open-source alternative to MS EWS). If you already have access to one or more of these cloud-based resources, you can integrate those data into KAddressBook by simply selecting the option and then entering your login credentials.
The remaining options in the dialog (Personal Contacts, vCard Directory, and vCard File) all create data sets that are saved on a local storage device. Each one of these options uses the same data format (
.vcf, or Virtual Card Format), the only difference being in which particular directory the data are saved. The “Personal Contacts” and “vCard Directory” options create a separate file for each named contact you save; the “vCard File” option puts all the data into one file. It's probably easiest to start with the pre-defined “Personal Contacts” address book. You will not need more address books unless you have extensive contact lists you would like to keep separate.Once you have made your selection, click on OK. If you have selected a cloud-based service a brief dialog will ensue, to establish communications between Akonadi (the PIM cross-desktop storage service) and the selected cloud server. Here's what the dialog looks like for a Google (gmail.com) account. The other cloud-based services are slightly different, but similar.
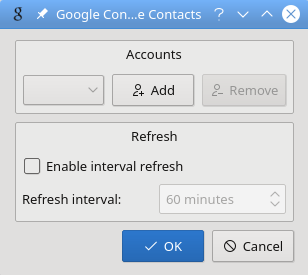
KAddressBook's link-to-gmail dialog. Begin by clicking “Add”. A new dialog will appear. Once your credentials have been accepted, this screen will reappear, and you will click . If you would like KAddressBook to refresh the locally cached copy of your contact list automatically, do it here, before you click .
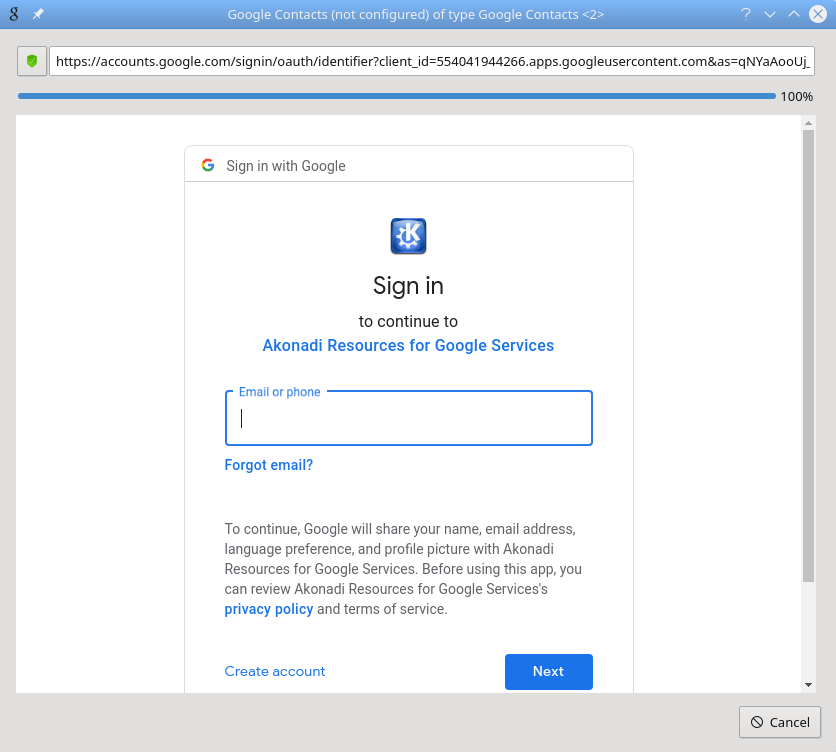
Another picture of KAddressBook's link-to-gmail dialog. Enter your gmail.com address and click . You will be asked to enter your gmail password.
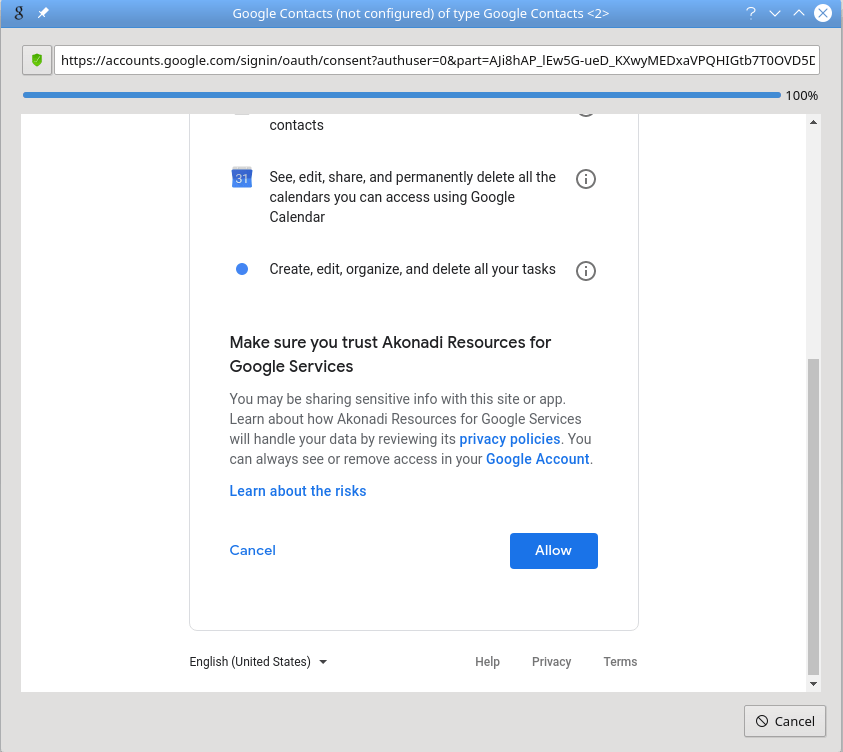
Yet another picture of KAddressBook's link-to-gmail dialog. Your account name and password have been accepted by Google's server. Read the privacy notice and press , then in the “ Add ” dialog with which you started.
Enter your login credentials as illustrated above and say OK. Voila! Your cloud-based contact list is now integrated into KAddressBook.
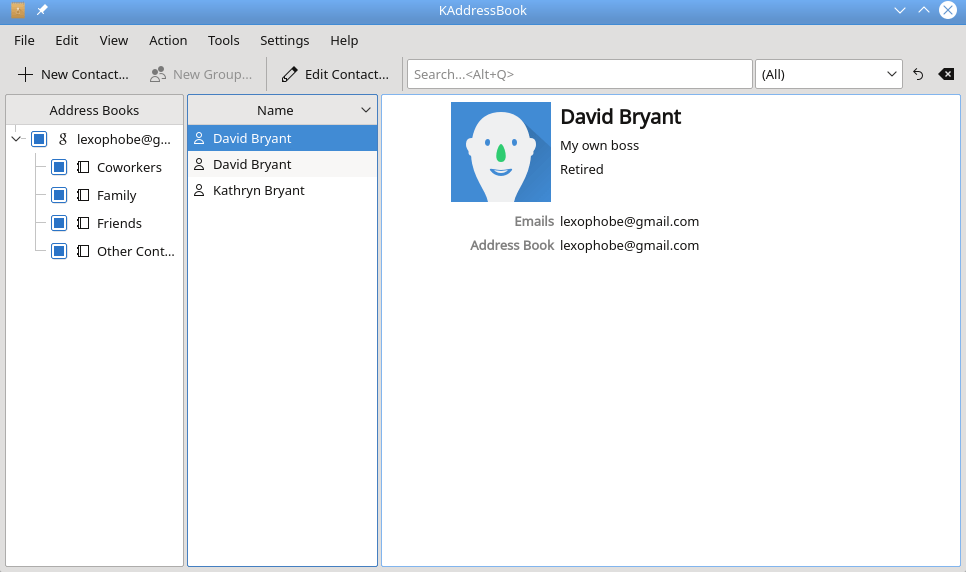
Another picture of the KAddressBook window, after a gmail.com account has been added. You can now manipulate your gmail contacts via KAddressBook, if you like.
As the preceding screenshot indicates, once you have registered KAddressBook as a trusted resource, you can view and edit your gmail contacts using KAddressBook. Of course, you may also continue to maintain your contacts by using a web browser, if you wish.
If you selected one of the local address book options in step 2 above, a different dialog will ensue.
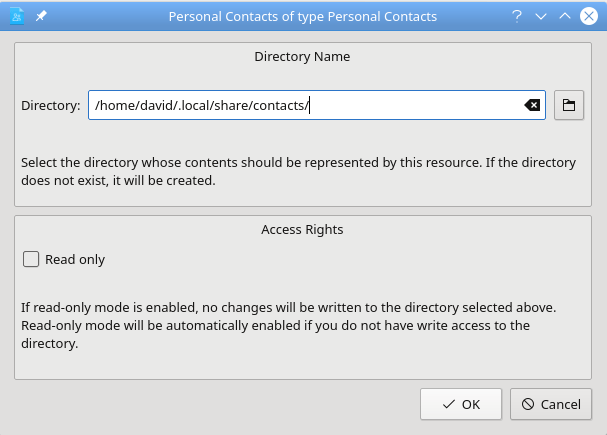
KAddressBook's “Personal Contacts” dialog. You may specify which directory will contain your data, and whether you have write access to this resource, or not. For most people, the default selections (as shown above) work well.
Make any modifications you deem necessary in the “Personal Contacts” dialog, then click . A new address book will appear in the main KAddressBook interface window, as shown below.
