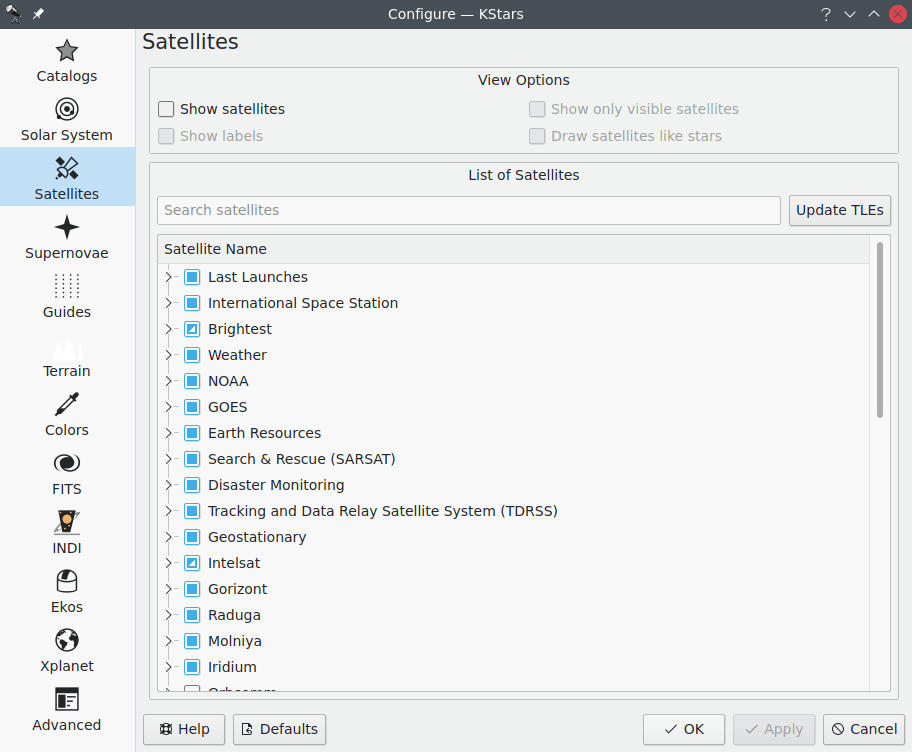
The Satellites page allows you to set the satellites view options. Firstly, you can see or hide the satellites on the skymap using Show satellites checkbox from the top View Options section. By default, satellites are drawn as small light red filled circles with an optional dark red name label next to them. You can enable or disable these labels by checking or not the Show labels checkbox. It is located below the Show satellites checkbox, within the View Options section.
The colors of the dots representing satellites and their name labels can be easily customized using the Colors page from the same Configure - KStars window. In addition, satellites can be drawn just like regular stars by checking the Draw satellites like stars checkbox. To display only the visible satellites from your current geographic location and time, select Show only visible satellites.
KStars can draw artificial satellites from many predefined groups. Thus, you can select to display a particular group, multiple groups or partially select subgroups. Under each group, a list of individual satellites is presented. To select all satellites from a group, you need to check the group checkbox. You can also select only the satellites of interest in each group. The satellites orbital elements can be updated via the internet by pressing the button. Another way for updating the satellites orbital elements is to use the → → menu item. If you know the name of a desired satellite then you can use the search satellites method that KStars provides. You need to enter the name of satellite in the Search satellites text box and the list will be reduced only to its best matches.
You can add new satellites to KStars default satellites set by editing the
kstars/data/satellites.dat file. As each line of this file is a group of
satellites, you need to add a new entry for your desired satellites group.
An entry should have the following format: Group Name;local_filename;url.
For example: Iridium;iridium.tle;https://celestrak.com/NORAD/elements/iridium.txt.