The default panel holds a few Plasma™ widgets: starting from the left, there is the application launcher.
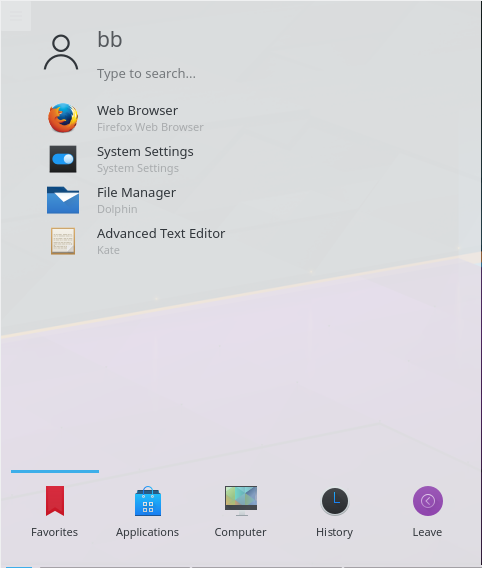
You can use it to start applications, open recently opened files and the usual logout/shutdown options. There is also a structure that allows you to browse through your applications. The layout has been optimized for the use case that is most common: starting an application. The default tab is the Favorites tab that holds the most-used entries. In the beginning, you'll probably find yourself using the Applications tab more often. Once you have found out what your most frequently started applications are, click on the items and select the to add them to your Favorites (or directly into the panel or on the desktop. Note that you need to “unlock” Plasma™ by means of clicking on the desktop for any kind of modification).
If you prefer the traditional menu-style application launcher, change it by clicking on the menu button and selecting .
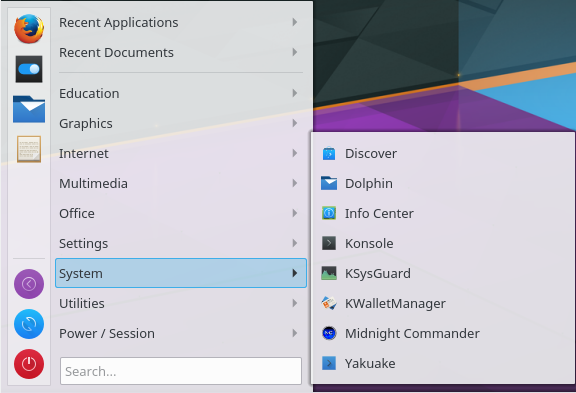
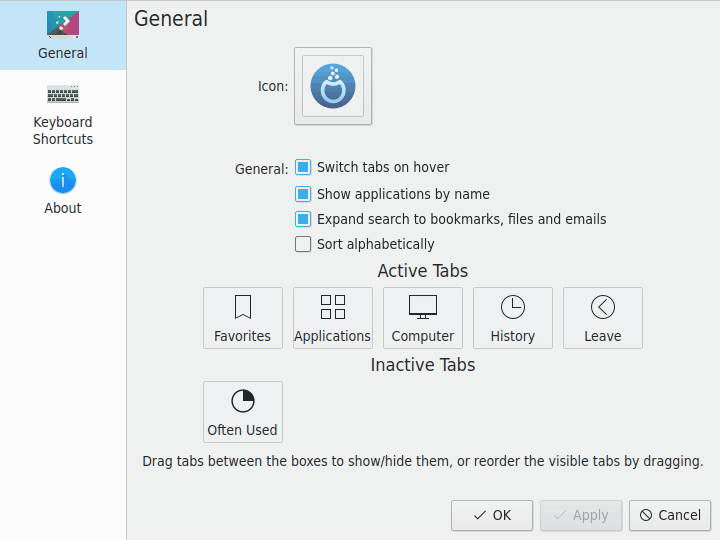
If you want to configure the application launcher, change it by clicking on the menu button and selecting .
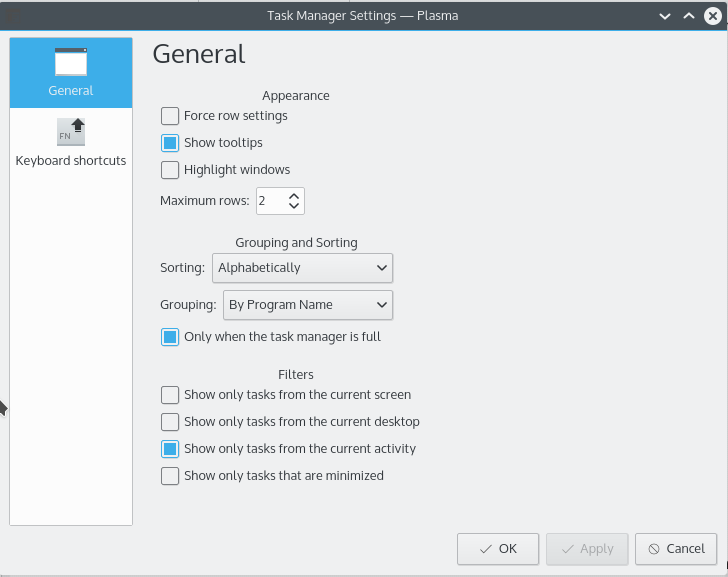
The taskbar is another widget on the panel. It shows an area for all open windows on all desktops by default. You can make it show all open windows on the current desktop only by checking when you right click on the task manager, between two windows. The size of the text on the taskbar items can be set in System Settings under the → . Right-clicking on the taskbar brings the Settings dialog where you can choose several options to customize your taskbar.
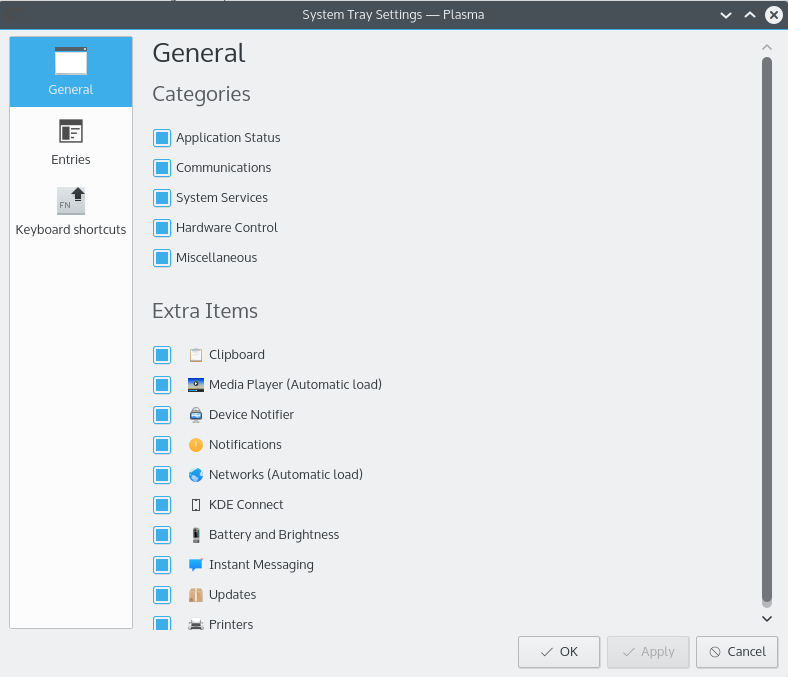
Another default panel item is the System Tray, which is used by traditional applications and widgets as a dock. Right clicking on the System Tray allows you to open the settings dialog, where you can set entries to display and their visibility.
An icon located usually in the system tray is the Device Notifier. Plug in a USB disk and a dialog will open that allows you to open the device in Dolphin or another associated application.

The Device Notifier is used for handling pluggable devices such as USB pendrives (also called flash drives or thumb drives), digital cameras, external USB hard drives, etc. It also comes into play when a medium such as a CD or DVD is loaded into an optical drive.
When you plug in an external device, or load a new medium into a drive, the Notifier window pops up (you can also open it explicitly by clicking on its Panel icon.) It stays open while the cursor is over it, otherwise it hides itself after a few seconds.
The Notifier window shows a list of all the devices it currently knows about. Moving the mouse cursor over a device will highlight how many possible actions are associated with that device.

Clicking anywhere in the shaded box around the device name (but not on the eject/unmount icon if present) expands the entry to show the list of possible actions for that device. The set of actions depends on the device; it is configurable from the Device Notifier's context menu or from the System Settings modules Device Actions and Removable Devices. Simply select one with the mouse or keyboard to launch that action.
There is also a small icon to the right of each entry showing whether that device is currently accessible (or mounted) or not. Only when a device is not mounted is it safe to physically disconnect it from the computer. Clicking on the icon causes the device to be unmounted and/or the medium to be ejected if it is currently mounted, and will mount it if it is not. Note that unmounting/ejecting might fail if the device still has open files on it, e.g. if a large file copy hasn't finished. In most cases you can just wait a while and try again. When an unmounting has succeeded, a success icon will be shown on the Device Notifier's icon.
The System Tray normally holds some more entries like Klipper, KMix etc.
Some of the default entries in the System Tray are hidden
to save space in the bar. To display these entries click on the small white triangle
 , then use
the mouse button to launch a widget or the mouse button to open its settings dialog.
The right-most Plasma™ widget in the default panel holds the Digital Clock. This clock can display the time in different timezones as well as have its size changed. The clock will adjust its font size to the area it is given by the surrounding containment (that is the panel in this case). If you choose to display the date, this date will be rendered using the option from the System Settings Font dialog. The time will take the rest of the space. So in the end, you'll choose yourself the amount of information displayed, and if that fits. If you want to display more information, make the panel larger or put the clock on the desktop where it can grow freely.