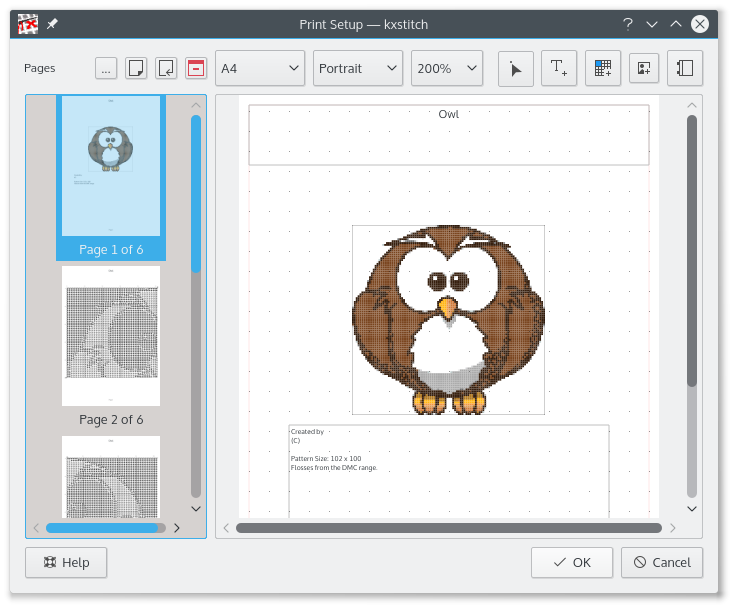
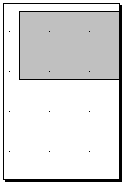
The dialog has a page list on the left showing a thumbnail for each of the pages. The right panel contains the layout editor where the elements can be placed. Each element is customizable using the context menu and can be positioned and sized to suit your requirements.
 Select a printer configuration template. Currently a similar one to KDE3 is included.
![]() Append a page - This will append a page at the end of the list.
Append a page - This will append a page at the end of the list.
![]() Insert a page - This will insert a page before the one currently selected in the list.
Insert a page - This will insert a page before the one currently selected in the list.
![]() Delete a page - This will delete the page currently selected in the list.
Delete a page - This will delete the page currently selected in the list.
![]() Select an element - Used to select elements for editing or resizing.
Select an element - Used to select elements for editing or resizing.
![]() Insert a text element - Used to insert a text element onto the current page.
Insert a text element - Used to insert a text element onto the current page.
![]() Insert a pattern element - Used to insert a pattern element onto the current page.
Insert a pattern element - Used to insert a pattern element onto the current page.
![]() Insert an image element - Used to insert an image element onto the current page.
Insert an image element - Used to insert an image element onto the current page.
![]() Insert a key element - Used to insert a floss key element onto the current page.
Insert a key element - Used to insert a floss key element onto the current page.
When adding elements, select the required element icon, then select the area of the page that the element is to occupy by clicking and dragging with the mouse button from one corner to another. The properties of the element can be viewed and changed using the context menu accessed by the mouse button
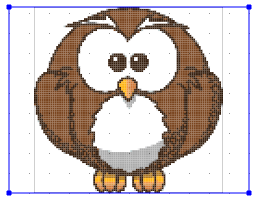
The elements can be resized by selecting them using the select tool![]() ,
this will provide a sizing rectangle around the element. The corners can be dragged around to adjust the size or the whole element can be moved by
clicking and dragging using the mouse button.
,
this will provide a sizing rectangle around the element. The corners can be dragged around to adjust the size or the whole element can be moved by
clicking and dragging using the mouse button.
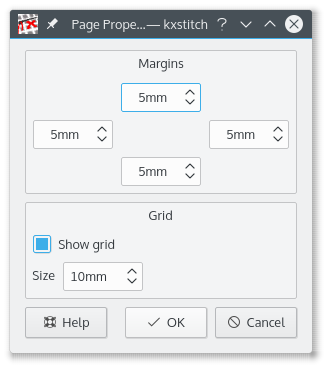
The page has an associated properties dialog which allows setting the page margin and the grid size and visibility. The page margin provides a guide for the placement of objects but does not prevent elements from being positioned outside the defined margin.
The pattern element will show the arrangement of stitches on the grid. The properties dialog can be used to configure how the stitches will be displayed. This allows the element to display as a picture of the pattern or as the working pattern showing the symbols.
The pattern element defaults to showing the whole pattern when it is created. Using the properties dialog a selection of the required area can be made in the preview window by clicking and dragging a selection area.

A text element can be used to add text notes to the pattern or to show titles or comments. The text is configurable with fonts, color and transparency. In addition a border can be displayed.
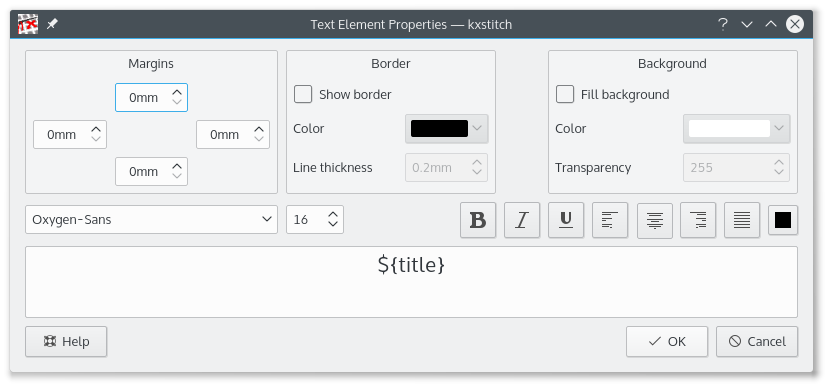
Text elements can also utilize variables which will be converted to properties from the pattern.
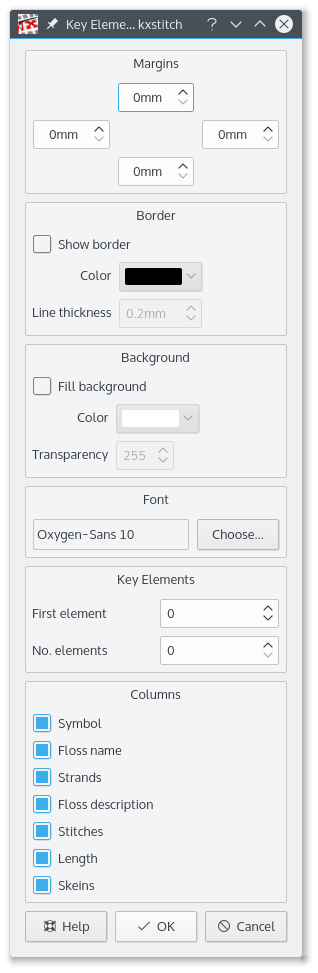
The key element shows the flosses used. The properties dialog allows the selection of the fields that can be displayed. The First element and No. elements can be used for large keys that may span multiple pages and allows some symbols to be on one page and others to be on another page.