KAddressBook's “Print Preview” function lets you tailor a hard-copy of your address book data just about any way you want.
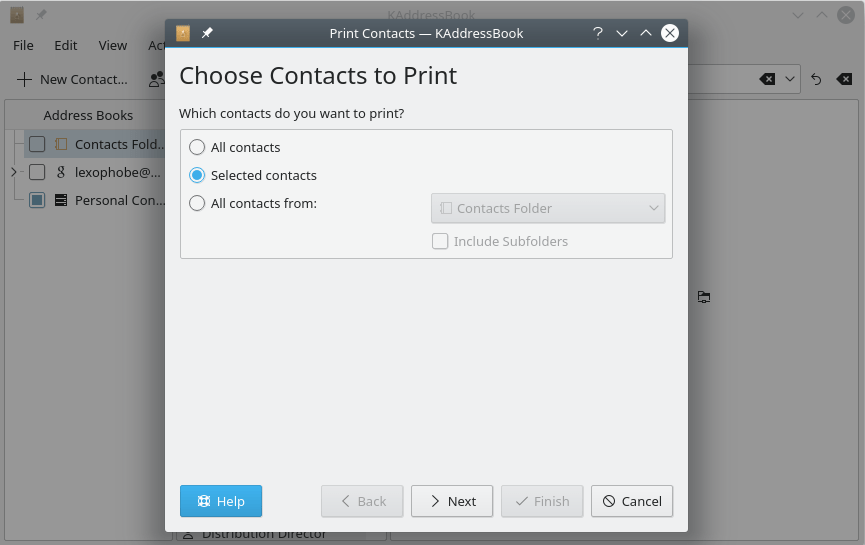
KAddressBook's “Print Preview” dialog. You may select one or more entire address books, or just a smattering of individual contacts.
The first step is to select the contacts to be included in the printout. If you wish to print just a
smattering of individual contacts, you must choose the contacts to be printed before invoking the
 Print Preview dialog. If you wish
to select all your contacts, or all the contacts in a particular address book, you can do it here. Click
Print Preview dialog. If you wish
to select all your contacts, or all the contacts in a particular address book, you can do it here. Click
 Next when you have made your selection. A new screen will appear.
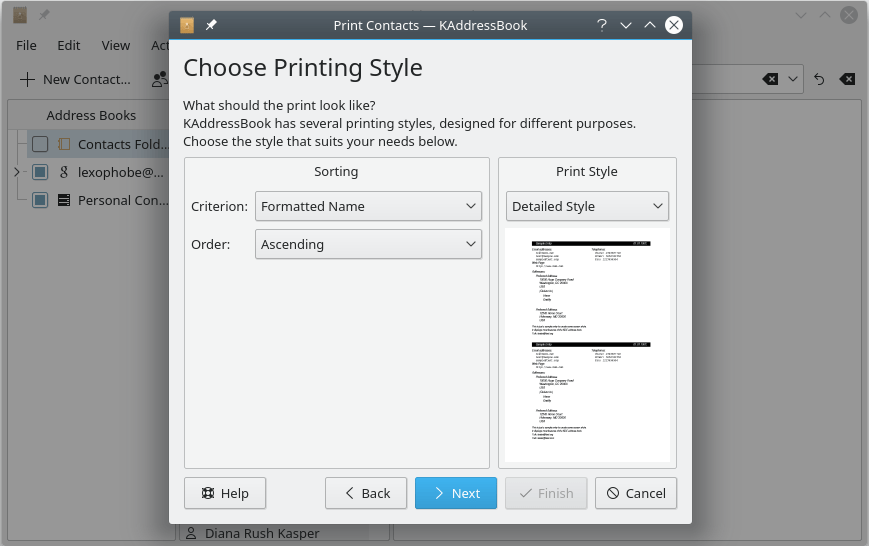
The second screen in KAddressBook's “Print Preview” dialog. You may choose a sort field and a sort direction (up or down). You may also choose among seven different print layouts.
Here you can choose a sort field (any one of the 47 named fields in the contact record), the
direction of the sort, and any one of seven different report formats. When you click
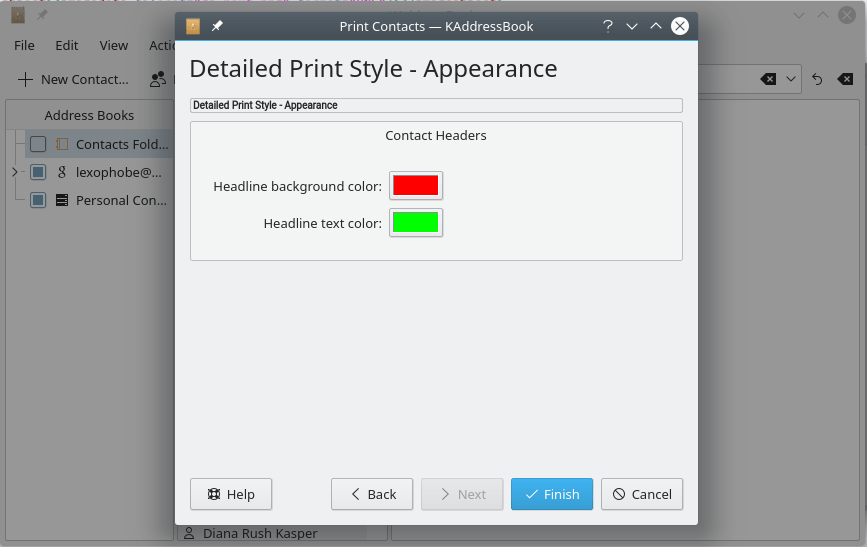
Next, you will be given a chance to tailor the color scheme to
be used.
Here is a picture of the completed report. It is now ready for printing.
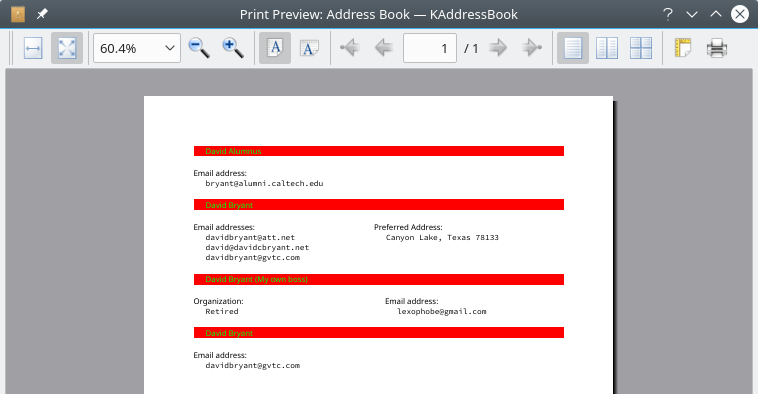
KAddressBook's “Print Preview” after the report has been generated and is ready to print. You may select alternative print orientations (landscape or portrait) and launch the print task from this window.
Click here to return to the Table of Contents for this Appendix.