Table of Contents
This chapter describes how to perform some common tasks in Calligra Stage.
Turn an existing presentation into standard HTML pages with accompanying navigation aids.
First, either make a new presentation, or open an existing one. Then, click on →
You will then get a dialog box asking for a few details:
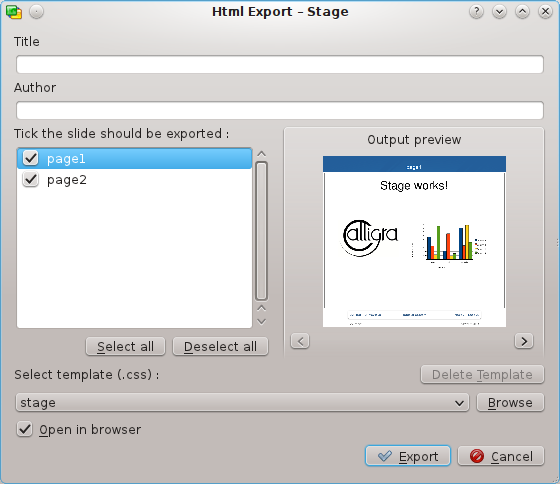
Fill in Title and Author fields. Select the slides which should be exported. If you want to change a name used on the HTML page for each slide double click on the name and edit it inline.
In the Output preview area the downsized slides are displayed and you can check the correct slide order and browse the presentation with the < and > buttons.
Now you can select a stylesheet with the configuration of the HTML options.
To actually produce your HTML presentation, press the button and select a folder.
What we now have are the newly-produced html/
and pics/ folders,
created where we earlier set the path:

There is also an index.html file to launch
your web slideshow.
You can see how it works by using your file manager or web
browser to open the index.html file. Click where prompted,
and the first slide of your presentation is displayed. It will now behave as a
Calligra Stage slideshow.
Each click on the arrow icons take you to the next or previous slide. To get back to the start of the slideshow click on the slide icon.
Tip
To share your presentation with the world, transfer the newly-produced files to a network-accessible location (i.e. webspace), remembering to keep the folder structure intact.